How to Snap Objects to Grid in Excel
Written by
Reviewed by
Last updated on May 7, 2024
This tutorial will demonstrate how to snap objects to the grid in Excel.
Resizing and positioning objects such as charts, autoshapes or control on the Excel spreadsheet can be tricky. The ALT key can help you to snap your object to the Excel grid when you resize or position the objects.
Resizing an Object with Snap to Grid
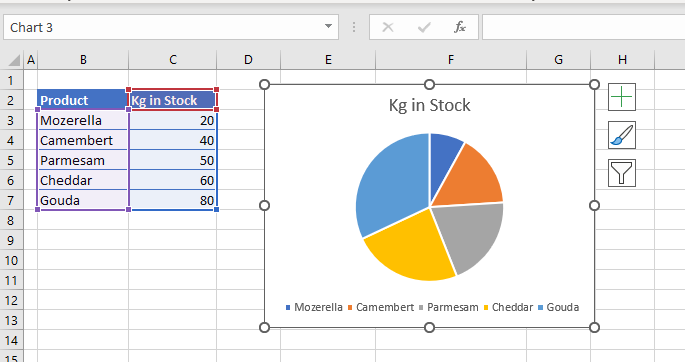
- Create the object that you wish to resize. This can be a chart, a drop down list or a shape for example.
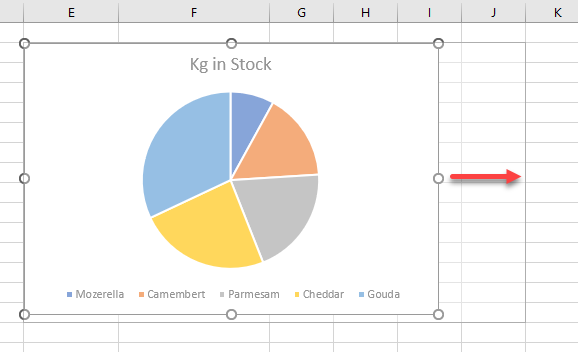
- Then, click on the object (in this case a chart) to select it (it should have the small white ‘handles’ around it) and, holding down the ALT key, drag one of the corner or side handles to size the chart. You will notice the the edge of the chart area will snap to the corner of an Excel cell as you do so.
- Release the mouse button to stop sizing your object
Position an Object with Snap to Grid
- Click on the object to select it.
- Hold the ALT key down, and drag your object to the position on the sheet where you wish it to be placed. As your ALT key is down, you will notice that the object ‘snaps’ to the Excel grid when moved about the screen. If you release the ALT key and move the object, you will notice that the movements of the object are far more fluid whereas when you have the ALT key pressed down, the object jumps to the nearest available cell border. This can be on the left, right, top or bottom of the object.