How to Add Rows to a Table in Excel & Google Sheets
Written by
Reviewed by
This tutorial demonstrates how to add rows to a table in Excel and Google Sheets.
Add Rows to the Bottom of a Table
If your data is formatted as an Excel table, it is easy to add extra rows.
Add Rows With the Tab Key
- Click in the bottom right-hand corner of your formatted table, in the last available cell.
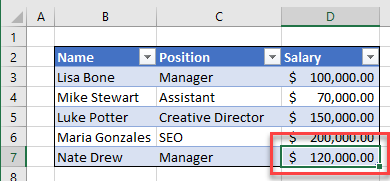
- Press TAB to add another row to your table.
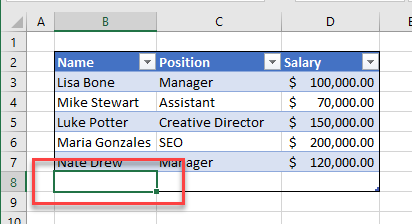
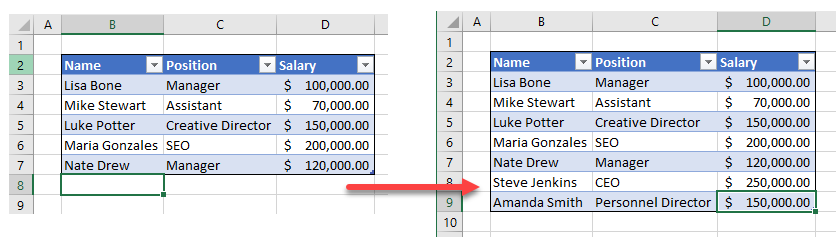
Add Rows by Typing in the Next Row
A row is also added to a formatted Excel table when you type in the first cell of the first blank row at the end of your table.
- Click in the first cell of the row below your table.
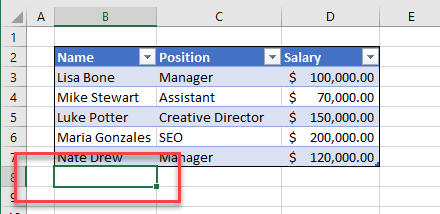
- Type in a value, and then press TAB.
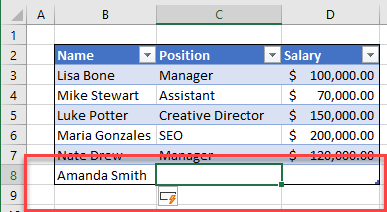
- When you do this, a menu button appears. Click on the menu to see the options available.
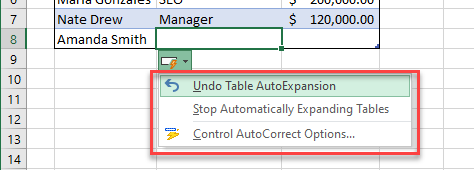
- If you DO NOT want the new row to be automatically included in the table, click Undo Table AutoExpansion.
- If you want to stop this table, and any future tables from automatically expanding, click Stop Automatically Expanding Tables.
- To view more AutoCorrect options, click Control AutoCorrect Options.
Add Rows in the Middle of a Table
Add Rows With the Ribbon
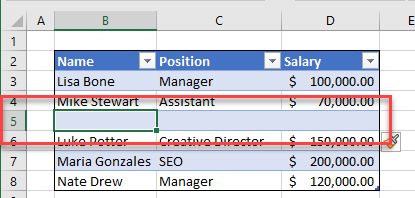
- Click in the row of your Excel table where you want the new row to be inserted.
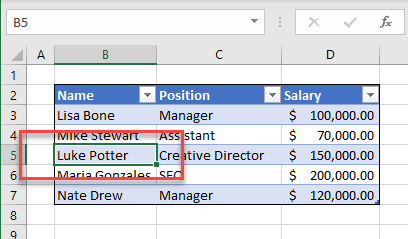
- In the Ribbon, select Home > Insert > Insert Table Rows Above.
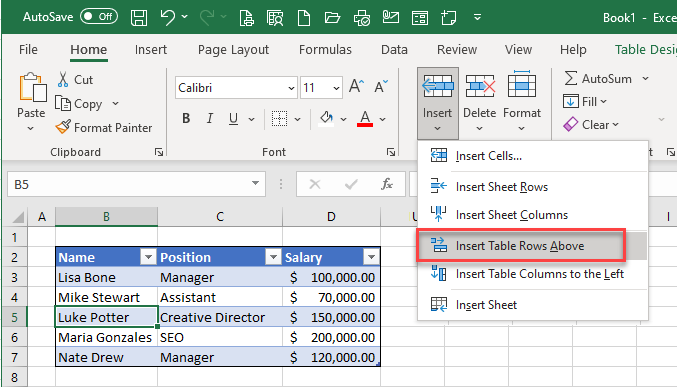
- A new row is added above the row that is currently selected in your table.
Add Rows With the Keyboard
- Click in the row of your Excel table where you want the new row to be inserted.
- Press and hold CTRL, then press the + sign to insert a row above your selected row.
Resize a Table
You can also add rows to an existing table by resizing the table.
- Position your mouse at the small handle in the bottom right-hand corner of the table. Your mouse pointer changes to a small double-headed black arrow.
![]()
- Drag the mouse down the number of rows to be inserted.
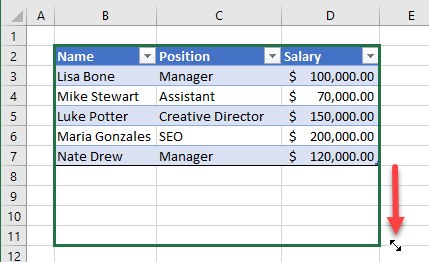
- Release the mouse to add the rows to your table.
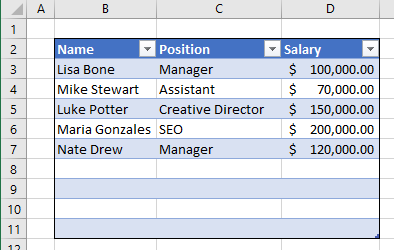
Note: You can also drag back up again to delete the rows!
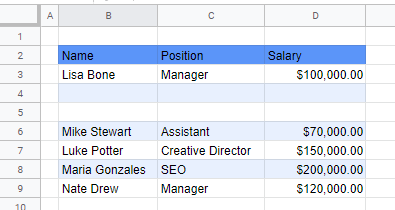
Add Rows to a Table in Google Sheets
Add a Row to the Bottom of a Table
If your table in Google Sheets has been formatted with alternating colors (Menu > Format > Alternating Colors), you can automatically add rows to the formatted table.
- Click in the cell below the last row of your table.
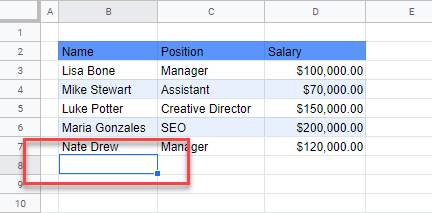
- Type in your data, and then press TAB.
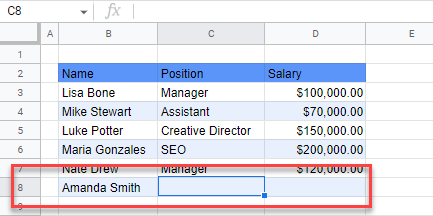
- A new row is added formatted in the style you have chosen for your table.
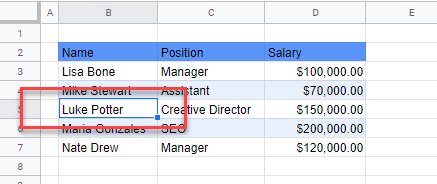
Add a Row in the Middle of a Table
- Click in the middle of your table where you want the row inserted.
- On the row header, right click to obtain the quick menu.
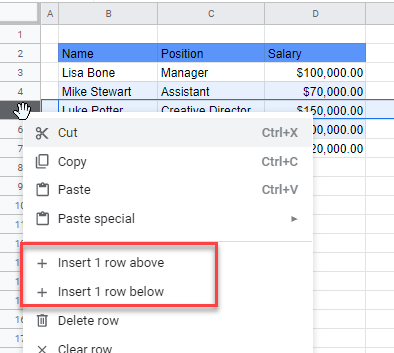
Tip: By selecting more than one row in your table, the quick menu changes accordingly. So, if you select two rows, the menu is shown as in the picture below:
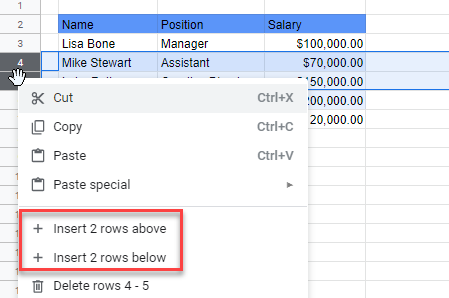
- Select the option to add the row or rows to your table.