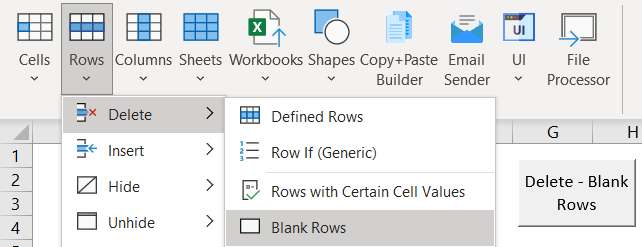
File Processor
The File Processor makes it easy to manipulate Excel files or non-Excel files.
Simply select the folder(s) to process, create rules to determine which files are processed, and select what action to perform.
Merge Files – Match Header
The Merge Files features allow you to merge data from multiple files into one spreadsheet.
Merge Files – Match header will read the column headers in row 1 and match the data so that it falls under the appropriate column header.

Use Cases
- This is great for quickly merging together CSV files.
- Use when merging data that shares column headers. (especially useful when order may be different between data files)
Merge Files
Merge Files will merge the contents of files into a single worksheet. Specifically, it will copy and paste contents from specified sheet from each file into the destination sheet.
Use Cases
- Merge data that doesn’t share a common header.
- Merge together financial statement information into one worksheet.
Merge Files – Worksheets
Coming Soon
This feature will merge entire worksheets into one workbook.
List Files
Create a list of all file names in a specific folder (or folders).
Use Cases
- Audit your team’s file structure.
- Track your team’s progress based on which files exist.
Delete, Move, Copy, or Open Files
Delete, move, copy, or open files from specific folder(s), with rules to determine which files are acted upon or ignored.
Use Cases
- Keep your file structure organized with a few mouse clicks.
Processing Files – How to
Now let’s walk through creating a Macro to process files.
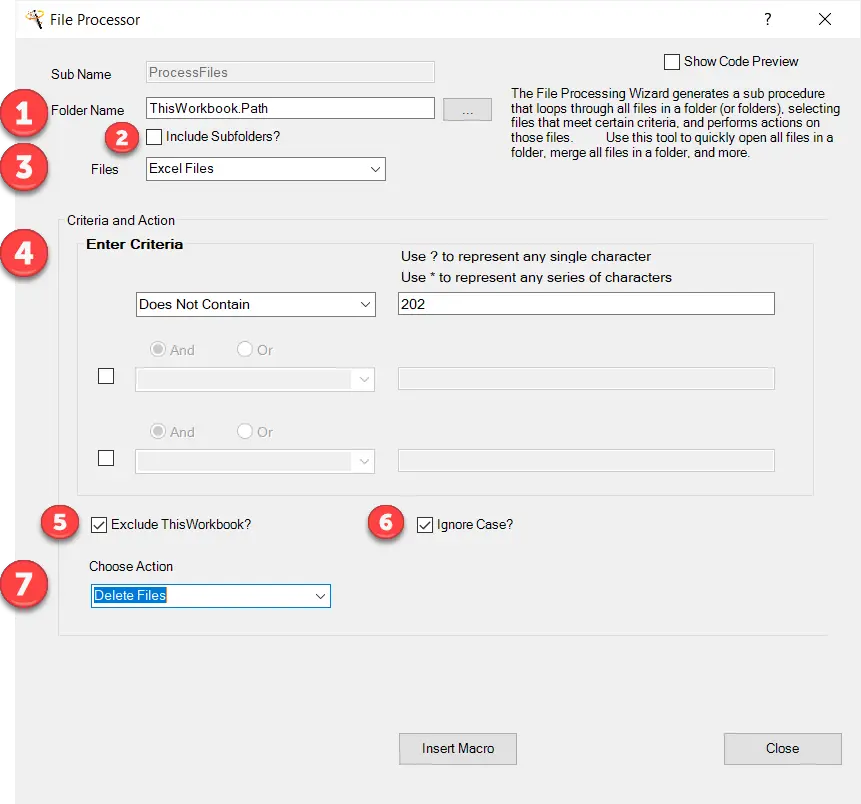
1. Folder Name
This is the folder location containing the files you want to process.
You’ll see ThisWorkbook.Path as the default value. This uses the same folder where your spreadsheet is located.
To change, either manually type the location or click the … button to navigate to your folder.

2. Include Subfolders
By including subfolders, you can process all files contained in all subfolders of the selected folder.
3. Files
You can choose to process:
- All Files
- Excel Files Only
- Excel Files and CSV Files
- CSV Files only
4. Criteria
Entering criteria allows you to limit which files are processed.
Select a criteria from the drop-down and then enter the criteria value:

You can use the * and ? wildcards for more complex rules.
- The * wildcard represents any number of any characters.
- The ? wildcard represent any single character.
We will walk through examples in the next section.
There are two additional settings:

5. Exclude ThisWorkbook – Excludes this spreadsheet from processing. This should usually be checked.
6. Ignore Case – This ignores case (upper or lower) when using criteria to determine which files to process. For example, “Data” will not match “data”, which unchecked.
Criteria Examples
Select all Excel files that contain “data”.

Select all Excel Files that start with “data”

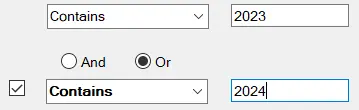
Select all files that contain 2023 or 2024.
Select all files containing the years 2020 to 2029.

Choose Actions
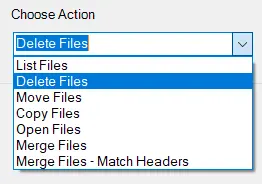
Choose between:
- Merge Files – Match Headers
- Merge Files
- List Files
- Delete Files
- Move Files
- Copy Files
- Open Files
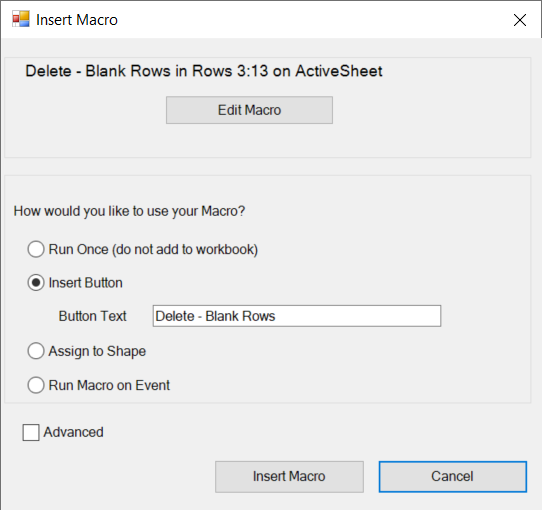
Insert Macro
Once you’re finished click Insert Macro to open the Insert Macro form.
SelectBox Builder
FileDialogBox Builder
Start Automating Excel