How to Change Document Properties in Excel
Written by
Reviewed by
This tutorial demonstrates how to change a document’s properties in Excel.
Change Document Properties
Whenever you open up a blank workbook, some document properties are created. Document properties, also known as metadata, are bits of information that describe and identify a workbook. Document properties include details such as title, subject, author, manager, company, category, keywords (also called tags), and comments. If you include document properties for your files, it helps you organize and identify them later.
View Properties
- In the Ribbon, go to the File tab and in the drop-down menu, click on the Info.

- The Info page appears. On the right side of the page, you can see Properties.
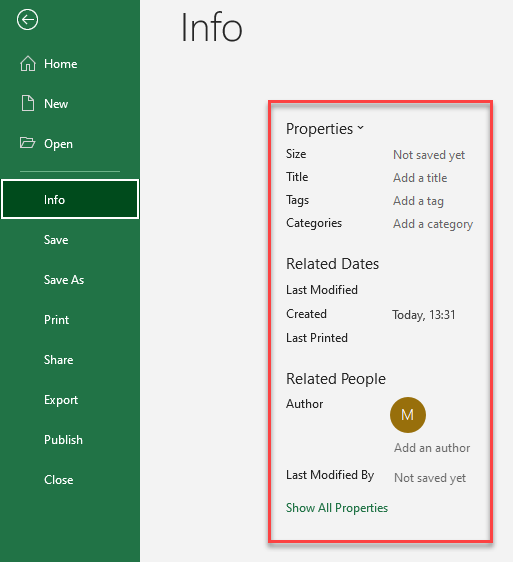
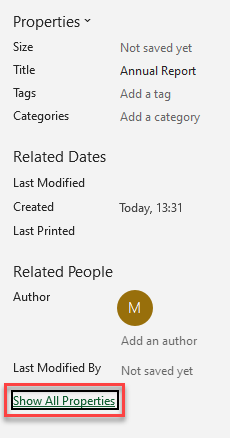
- At the bottom of the list, there is a Show All Properties button. To show more properties options just click on it.
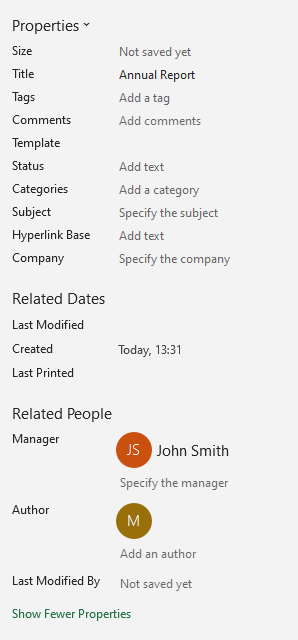
As a result, a list of all document properties, shown below, is displayed.
To add or change the author, see this tutorial. Below, see how to add a title and manager to your workbook.
Add Workbook Title
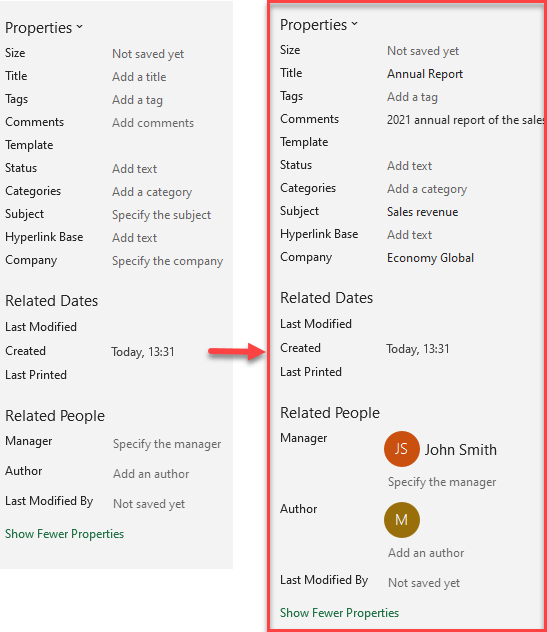
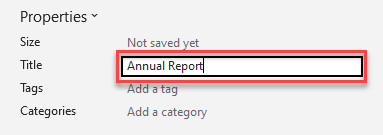
One editable property is the Title. To change the title of the workbook, just place the cursor in the Title box and type the title name. When done, just click outside of the box.
Specify the Manager
The Manager is another property you might need to edit. To do that, just place the cursor in the Manager box and type the name.
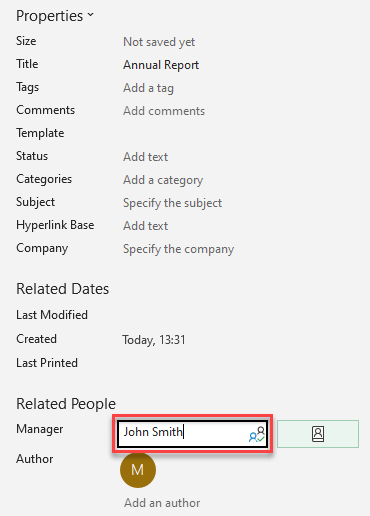
Another way to add a manager name is to click on the Address Book icon next to Specify and to choose the person from your address book.

As a result, the manager’s name is now a part of the file’s metadata.