How to Use Line Spacing in Excel & Google Sheets
Written by
Reviewed by
Last updated on March 4, 2023
This tutorial demonstrates how to use line spacing in Excel and Google Sheets.
Increase Line Spacing in a Cell
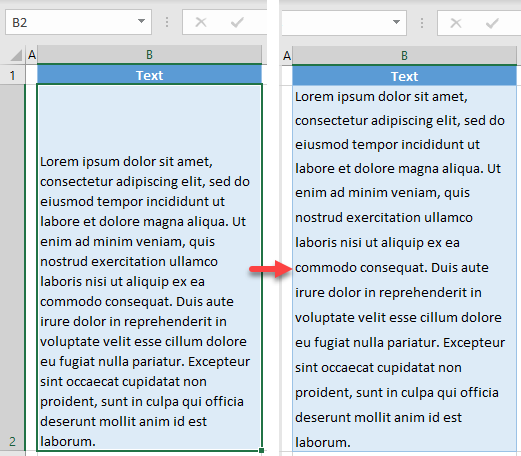
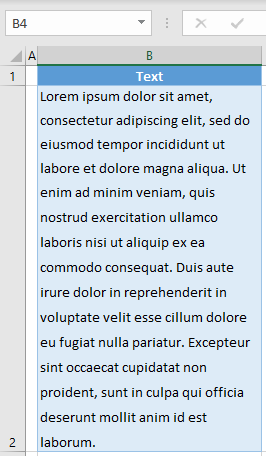
In Excel, text in a cell is often hard to read because of its vertical alignment. Say you have the following bottom-aligned text in cell B2.
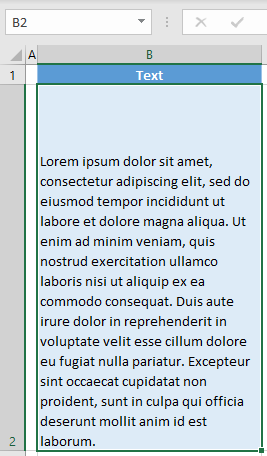
In this case, you might want your text to be equally distributed vertically in the cell.
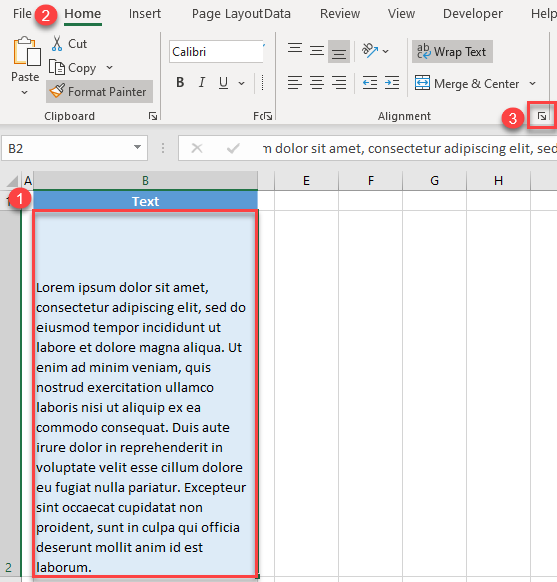
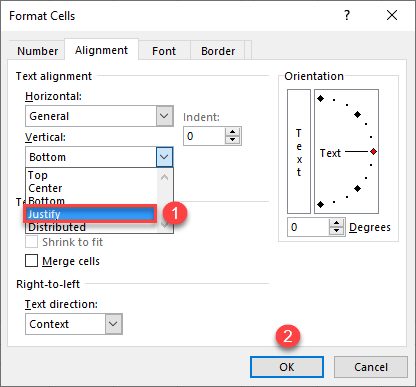
- Select the text cell (in this example B2), and in the Ribbon, go to the Home tab, and click on the Alignment Settings icon in the bottom-right corner of the Alignment group. (Alternatively, you could right-click the cell and choose Format Cells…)
- In the Format Cells window, choose Justify in the Vertical drop down and click OK.
As a result, the text in B2 is now justified with equal spacing between lines.
Line Spacing in a Text Box
You can also insert a text box into your Excel worksheet and adjust the line spacing within that shape.
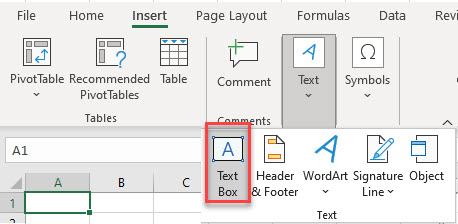
- In the Ribbon, go to Insert > Text > Text Box.
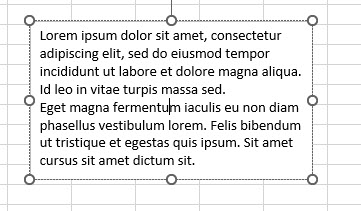
- Then, draw the text box and enter your text.
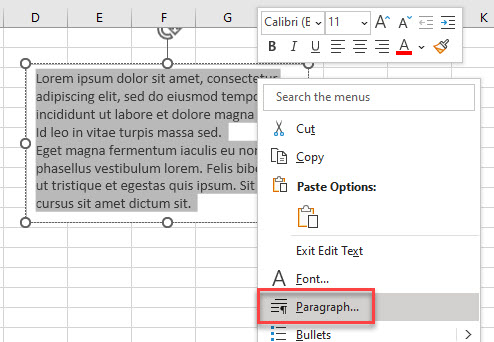
- Select all the text in the text box and then right-click. Then select Paragraph…
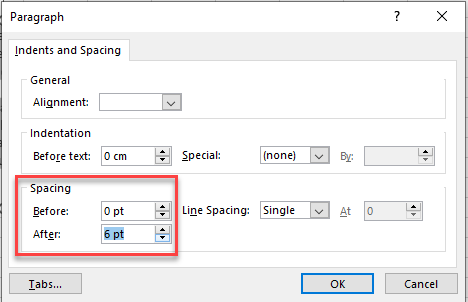
- Change the After Spacing to 6pt.
- Click OK to apply the changes.
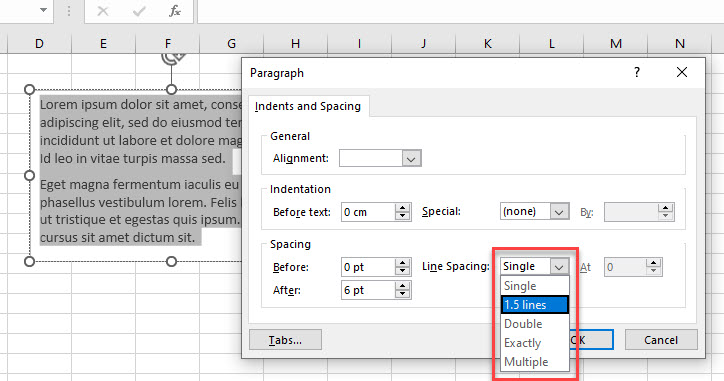
- Then, with the text still selected (or select all of the text again), right-click once again and select Paragraph. This time, choose an option from the Line Spacing drop down (e.g., 1.5 lines).
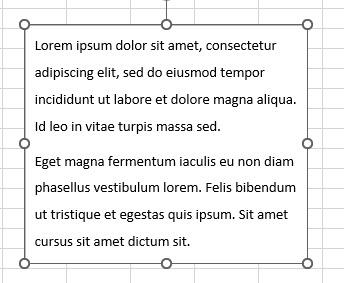
- Click OK to apply the formatting to the text box.
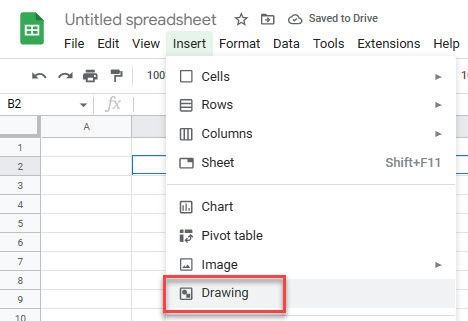
Line Spacing in Google Sheets
You cannot change the line spacing in a cell in Google Sheets, but you can change it in a text box.
- In the Menu, go to Insert > Drawing.
- Select Text box and draw a text box into your drawing.
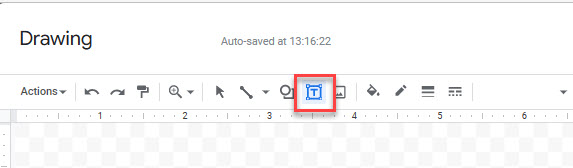
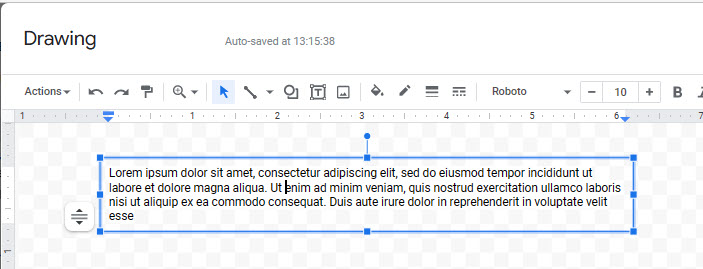
- Type in your text.
- In the Toolbar, click the line spacing button and choose a spacing option (e.g., 1.5). Then click Save and Close.
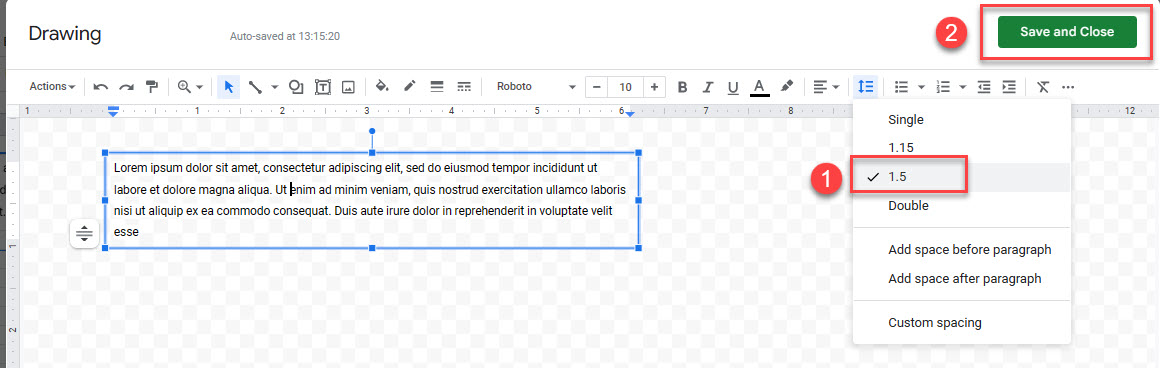
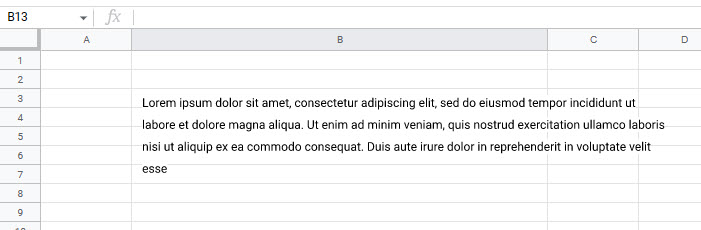
- Your text box is then displayed in your Google Sheet with the chosen line spacing applied.