How to Move a Table in Excel & Google Sheets
Written by
Reviewed by
Last updated on January 18, 2023
This tutorial demonstrates how to move a table in Excel and Google Sheets.
Drag Table to New Location
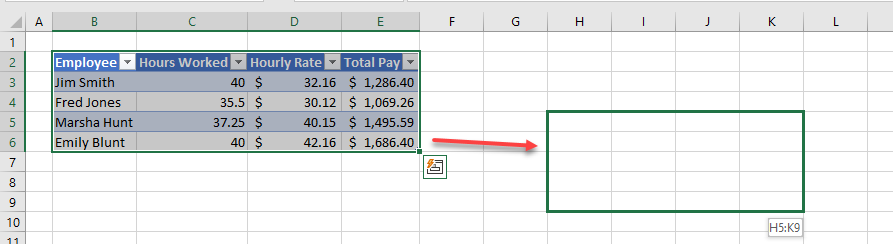
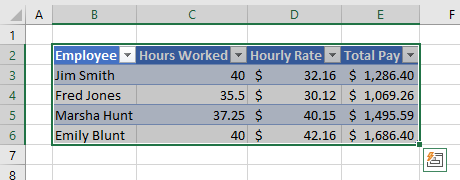
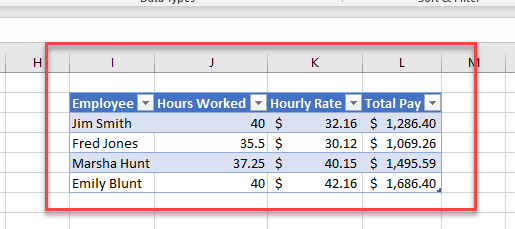
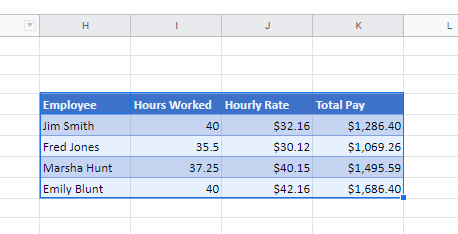
- Highlight the table you wish to move.
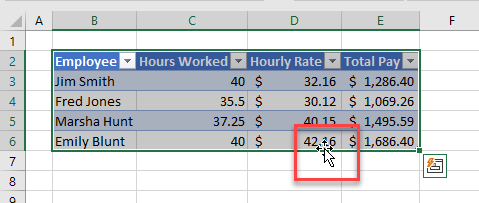
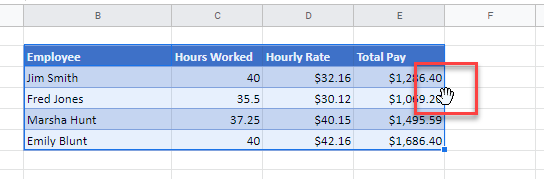
- Position your cursor at the bottom of the table so that the mouse pointer changes to a small black cross.
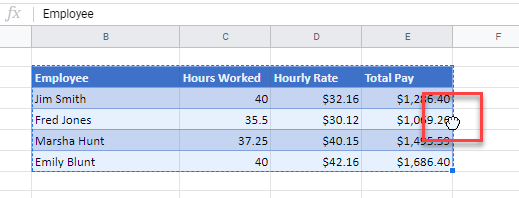
- Drag the table to its new location and then adjust the column widths as required.
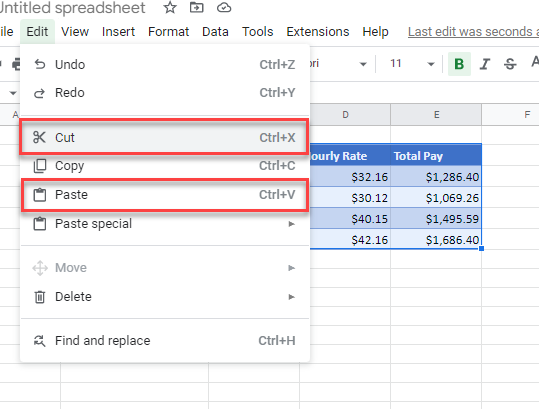
Cut and Paste a Table to New Location
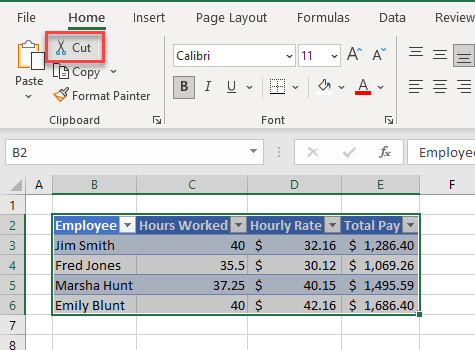
- Highlight the table you wish to move.
- In the Ribbon, go to Home > Clipboard > Cut or press CTRL + X on the keyboard.
- Click in the cell where you want the table to be move to (the top-left cell of the table is placed in the selected cell), and then, in the Ribbon, go to Home > Clipboard > Paste or press CTRL + V on the keyboard.

- The table is moved to your selected location. You can then adjust the column widths as required.
Move a Table in Google Sheets
Tables as they exist in Excel do not exist in Google Sheets. However, you can move a range of cells that is formatted as a table by either dragging the cells to their new location or using cut and paste.
- Highlight the range of cells in Google Sheets and move your mouse to the edge of your table. This can either be at the bottom, top, left, or right of the table. Notice that your cursor changes to show a small hand.
- Click and hold down your mouse so that the hand closes to show a fist.
- Now drag your mouse to the destination range where you wish to place your table.

- Release the mouse to move your table.
You can also use the Edit menu to cut and paste the table like you can in Excel.