How to Reset the Last Cell in Excel & Google Sheets
Written by
Reviewed by
This tutorial demonstrates how to reset the last cell in Excel and Google Sheets.
Locate Last Cell
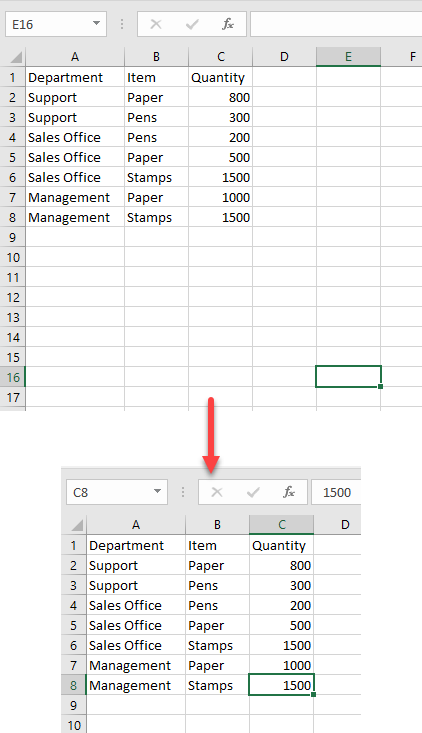
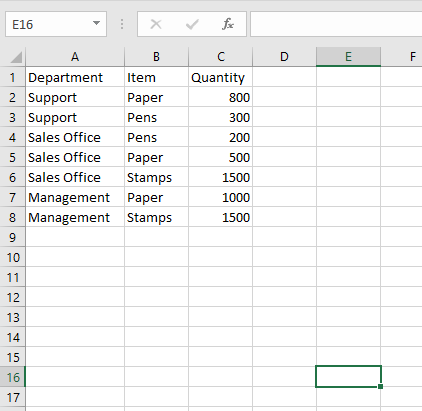
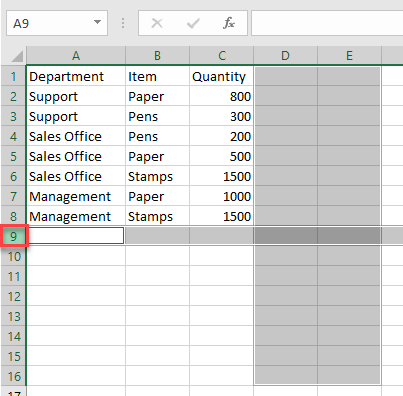
Sometimes, a workbook contains empty cells with formatting between the last cell and the data. This makes the file size larger than necessary. To avoid this problem, locate the last cell that contains data or formatting and delete all empty cells between the last cell and the data. To locate the last cell that contains the data or formatting, click anywhere on the sheet and press CTRL + END. This selects the last cell.
Delete Formatting
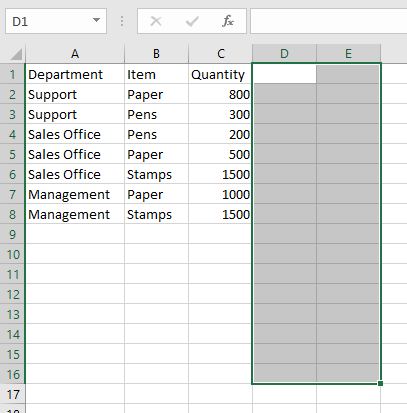
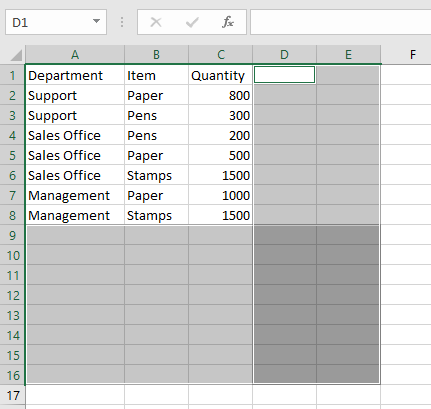
- To select all of the columns between the last one that contains data and the one that contains the last cell select the column header in the first empty column and press CTRL + SHIFT + END.
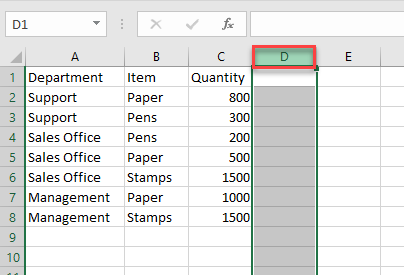
As a result, all of the columns in between are selected.
- To select all the rows between the last one that contains data and the one that contains the last cell select the column header in the first empty row and press CTRL + SHIFT + END.
As a result, all the rows between these two are selected.
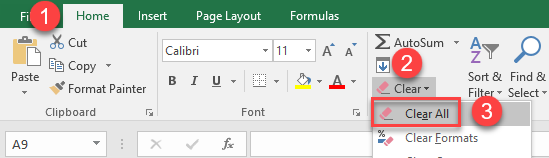
- Now, all the empty cells with formatting between the data and the last cell are selected. To clear them, in the Ribbon go to Home > Clear > Clear All.
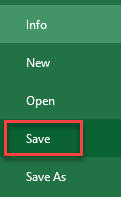
- Now, save the file and close the workbook.
When you open your file again, the last cell should be the last cell of the data.
Go to the Last Cell in Google Sheets
In Google Sheets, when you delete cells, formatting is also deleted so there won’t be empty cells between the data and the last cell. If you use the CTRL + END shortcut, it always navigates to the last cell of the sheet (Z1000).
