Split a Cell into Two or More Columns in Excel & Google Sheets
Written by
Reviewed by
This tutorial demonstrates how to split a cell’s content into two or more columns in Excel.
A common task in Excel is to split the contents of one cell into multiple cells. This is often necessary when data are exported from some other software to Excel and need to be sorted out before they can be used. This can be done using Text to Columns, either with a delimiter – like a space, comma, tab, etc. – or by the width of each part of the text.
Text to Columns
Using a Delimiter
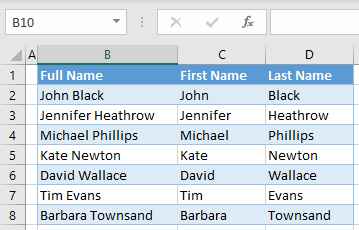
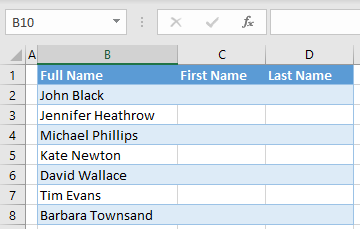
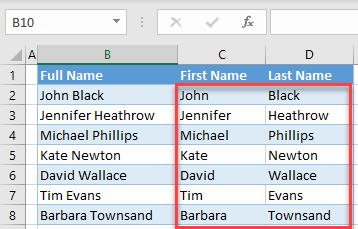
One of the most frequent objectives in Excel is to split full names into first and last names. Say you have the list of names pictured below in Column B and want to split it into first name (Column C) and last name (Column D). The obvious delimiter here is the space between first and last name.
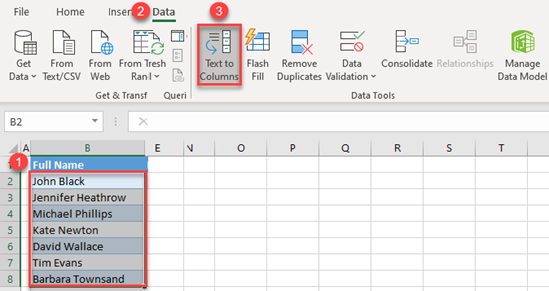
- Select the range of cells with data you want to split. In this example, it’s B2:B8.
- In the Ribbon, go to Data > Text to Columns.
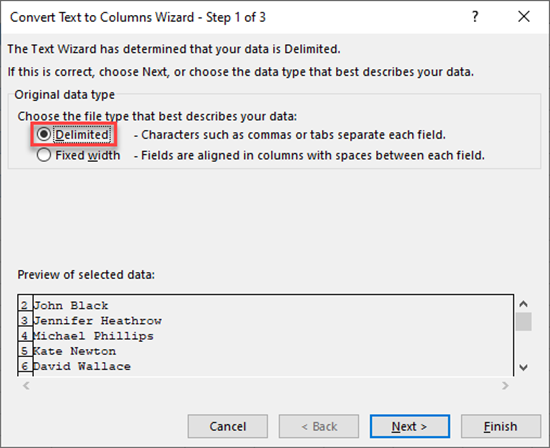
- The wizard for converting text to columns appears. In the first step, set the data type to Delimited (the default) and click Next.
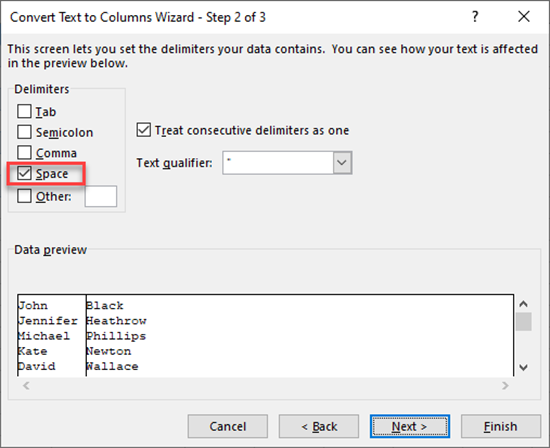
- In the second step, tick to define the delimiter(s) – a single space in this case. When you set the delimiter, a line appears in the Data preview to show how the data would be split.
You could also choose tab, semicolon, comma, or any other character you define as a delimiter.
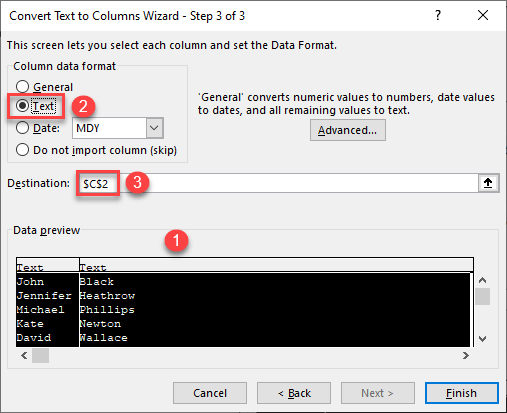
- In the final step, define the column data format. By default, new columns have a general format, but you can set them to text, date, or any other format you need (Advanced…).
Select the columns (hold CTRL and, in Data preview, click on the headers of the columns whose format you want to set). Under Column data format, choose Text. You also need to define the destination where the columns would be filled. In this case, the destination is cell C2.
The result is that Columns C and D are populated with split first names and last names.
Fixed Width
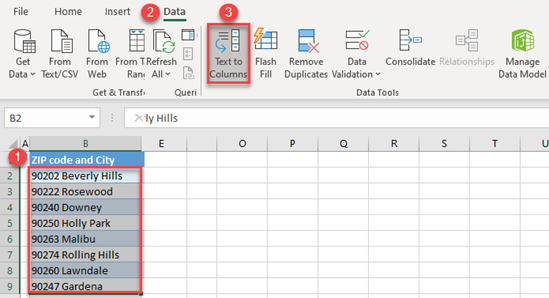
Another option when splitting text into columns is to use Fixed Width. When you use Fixed Width, Text to Columns splits the text at a certain number of characters rather than at a delimiter. A good example of this method is splitting ZIP code and city name; ZIP codes are always five digits long. Say you have ZIP code and city name in Column B and you want to split them into Columns C and D.
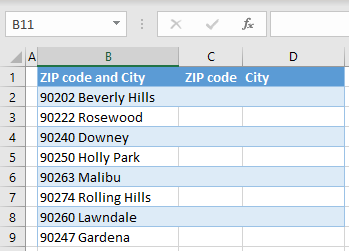
- To split data, first select the range of cells with concatenated data (B2:B9).
- In the Ribbon, go to Data > Text to Columns.
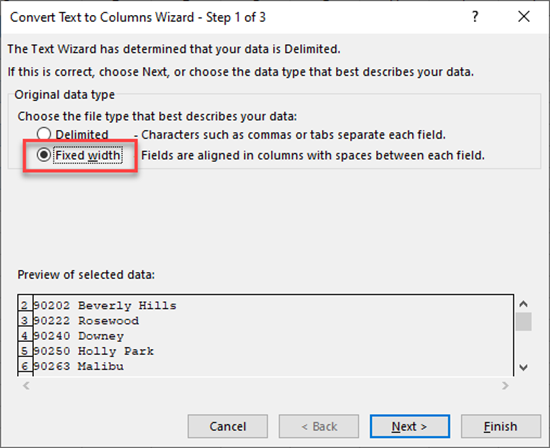
- Again, the Text to Columns Wizard appears. In the first step, set the data type to Fixed width and click Next.
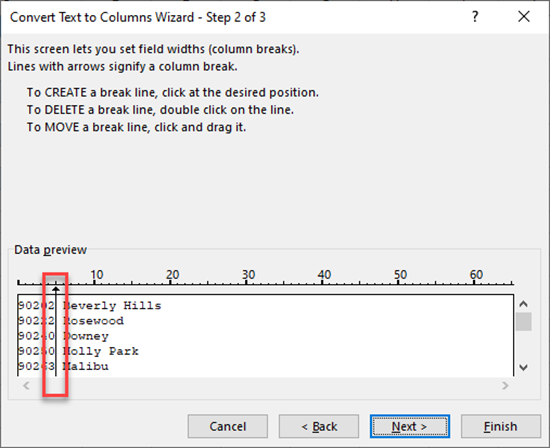
- In the second step, set a break line in the preview data by clicking between ZIP code and city name.
(You can double-click the break line to remove it or drag to move it to a different position.)
- In the final step, define the Column data format. By default, new columns have a general format. (You can change that as described in the previous topic.) You also need to define the destination where the columns should be filled. In this case, the destination is cell C2.
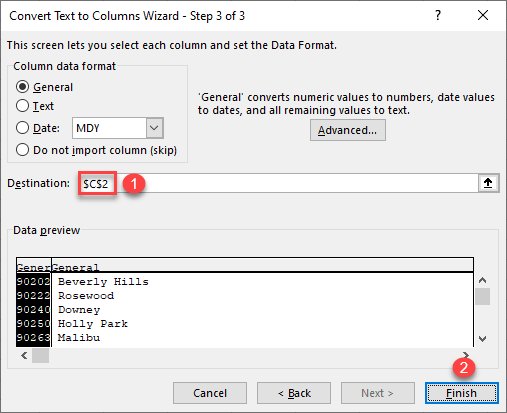
The final result is ZIP codes and city names split into Columns C and D.

Text to Columns in Google Sheets
Splitting text into columns works a bit differently in Google Sheets. The main difference is that you can’t set the destination cell, so the split data overwrites the initial data. Also, Google Sheets automatically detects a separator, but you can also set it as you want. The steps for splitting text cells in Google Sheets are as follows.
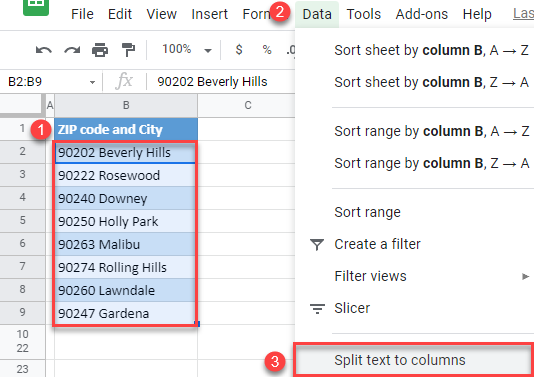
- Select the range of cells you want to split (B2:B9).
- Go to Data > Split text to columns.
As a result, you get data split into two columns, starting from cell B2. (The original column is overwritten.)
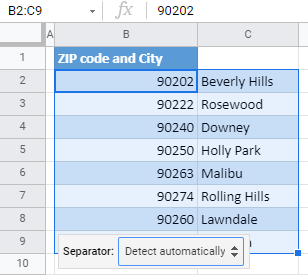
Note that, if you click the Separator drop down in the bottom-right corner, you can choose a delimiter (comma, semicolon, period, space, or custom). As you can see in the picture above, Google Sheets automatically detects that the column separator is a space and split the text based on that.
