How to Insert and Shift Cells Right in Excel & Google Sheets
Written by
Reviewed by
This tutorial demonstrates how to shift cells right when inserting in Excel and Google Sheets.
Insert and Shift Existing Cells Right
Say you want to insert cells and move adjacent cells to the right. There is an easy way to do that – just follow these steps:
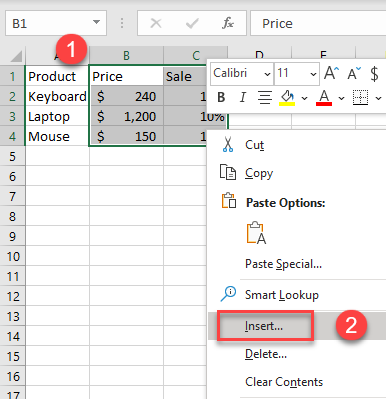
- First, select the cells you want to shift right, then right-click. From the drop-down menu, choose Insert…
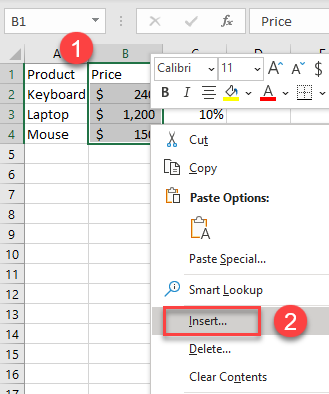
- In the Insert dialog window choose Shift cells right and click OK.

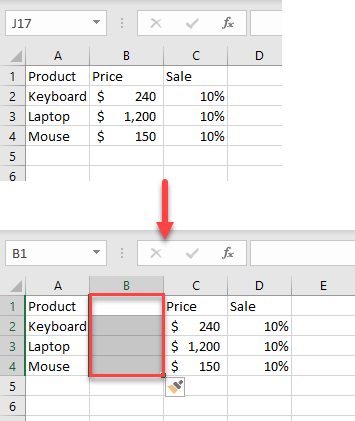
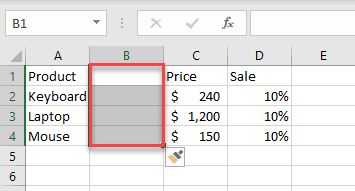
As a result, a column of new cells is added, and the current data is shifted to the right.
Insert Multiple Columns at Once and Shift Cells Right
- To add multiple columns at once and to shift cells right select more than one column (here, select B1:C4 to add two rows at once). Then right-click the selection and from the drop-down menu, choose Insert…
- In the Insert dialog window click on the Shift cells right, and then click OK.

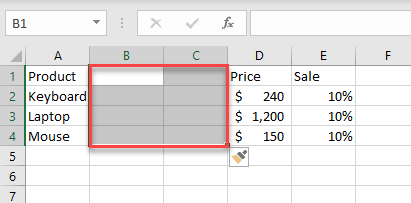
As a result, new columns are added, and the current data is shifted right. In this example, two columns were selected and as a result, two columns are added next to them (to the left).
Note: When you insert an entire column, Excel automatically shifts cells to the right. For an entire row, it shifts cells down.
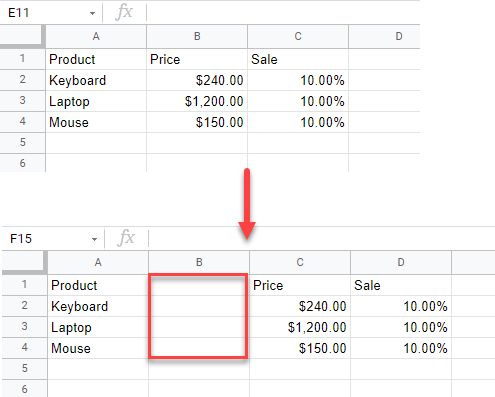
Insert and Shift Cells Right in Google Sheets
In Google Sheets, start by choosing where you want the new cells to be, rather than where the old cells should go.
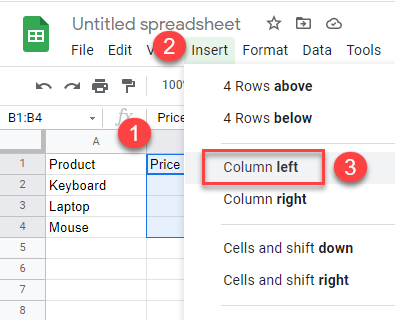
- To insert new cells and move adjacent cells to the right, select the cells you want to shift right.
- In the Menu, click on Insert.
- From the drop-down menu, choose Column left.
As a result, new cells are added, and the current data is shifted to the right.