Make Cells Bigger to Fit Text in Excel & Google Sheets
Written by
Reviewed by
This tutorial demonstrates how to automatically size cells in order to fit text in Excel and Google Sheets.
In this Article
Sometimes in Excel, you need to resize a cell’s width or height in order to fit all the text in the cell. You can do it manually by setting the width and height or use AutoFit options in Excel. There are two ways to autofit width or height to fully display text. The first option is to double-click and the second is to use AutoFit options from the Ribbon.
AutoFit
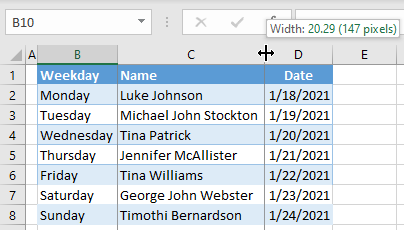
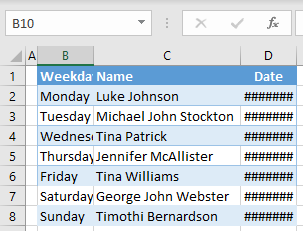
AutoFit is an Excel feature that adjusts the width of a column or a row to fit its contents. For example, you may have a range of cells where the data doesn’t fit, so the content of the cells is not displayed fully in a column.
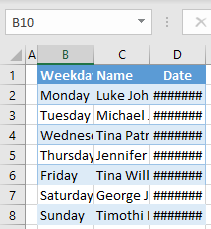
As you can see, data in Columns B, C, and D are not displayed fully. The columns are not wide enough.
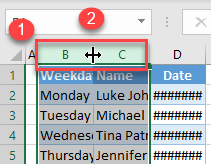
- To autofit Column C (Name), first position your cursor between the headings for Columns C and D.
- When the cursor changes to a double-sided arrow, double-click.
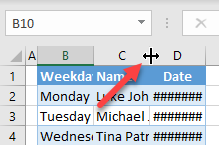
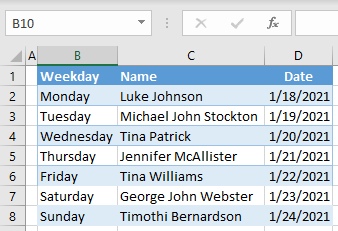
As a result, Column C is expanded in a way that the longest text in the column fits the cell. In this case, the width is based on cell C3.
Note: When numbers don’t fit in a cell, they are displayed as hash (#) symbols.
AutoFit Multiple Columns
Similar to the previous example, you can autofit multiple columns at once.
- Select the entire column(s) to expand (B, C, and D), and then position your cursor between any of the selected columns’ headings (for example between B and C).
- When the cursor changes to a double-sided arrow, double-click.
As a result, all selected columns are expanded to autofit text, based on the longest text in the column.

NOTE: You also have the option, instead of automatically increasing the cell size, to automatically shrink the text.
AutoFit Row Height
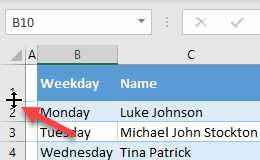
Similarly, you can also autofit single or multiple rows’ heights. Say you want to autofit Row 1’s height, as it’s too high for the content.
- First, position your cursor between the headings for Rows 1 and 2.
- When the double-sided arrow cursor appears, double-click.
As a result, Row 1 height is reduced, so the text fits.
AutoFit From the Ribbon
Another way to autofit the column width is to use AutoFit from the Ribbon.
- Select the entire column(s) to autofit (B, C, and D).
- Then in the Ribbon, go to Home > Format > AutoFit Column Width.
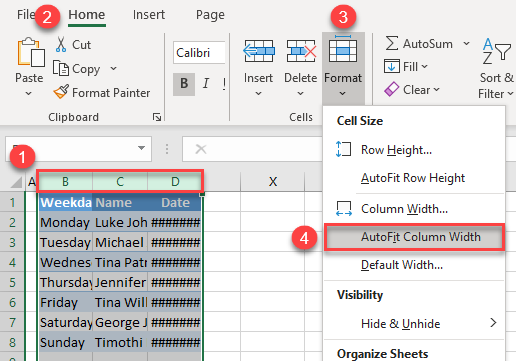
The result is the same as using the double-click method: All three columns are expanded to fit the text.
- Similarly, you can also autofit single or multiple rows’ heights. Say you want to autofit Row 2’s height, as it’s too high for the content.
First, select the row where you want to autofit height. Then in the Ribbon, go to Home > Format > AutoFit Row Height.
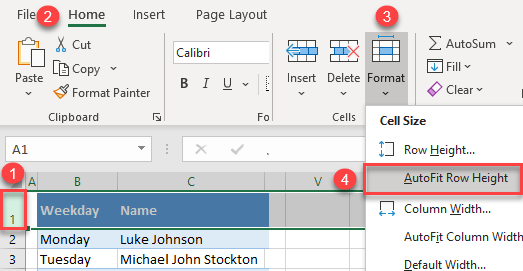
As a result, Row 1’s height is reduced, so the text fits.
Wrap Text and Adjust Cell Size
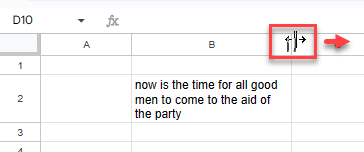
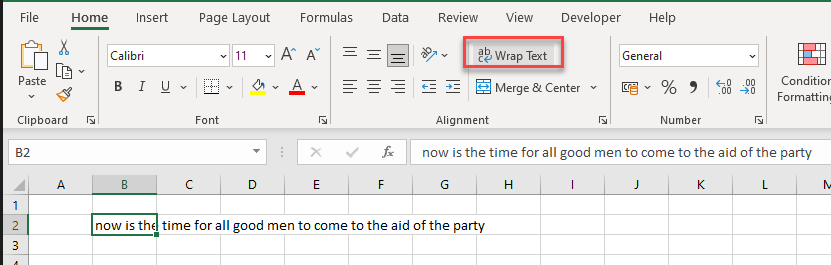
Consider the following text that is typed into one cell but flows across to multiple columns.

- In the Ribbon, go to Home > Alignment > Wrap Text.
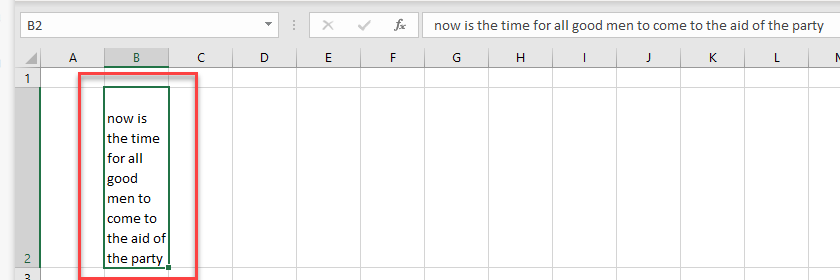
The text is wrapped within one column, and the row height is automatically adjusted.
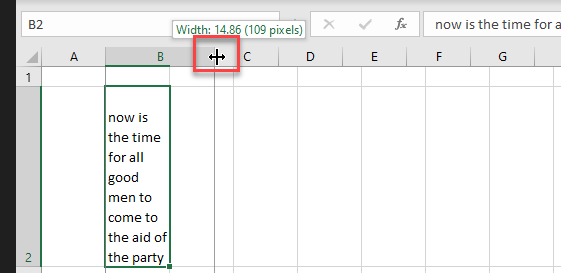
- To manually increase the column width, drag the column header on the right side of the cell across to the right.
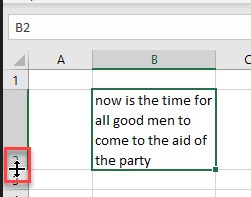
- Similarly, to manually adjust the row height, drag the bottom row header up or down.
Manually Adjust Row Height and Column Width
Instead of using AutoFit, you can manually adjust the row and column height of your cells with the Format options from the Ribbon.
Make Cells Bigger to Fit Text in Google Sheets
You can autofit text into cells in Google Sheet by double-clicking or by wrapping text.
► Double-clicking works exactly the same as in Excel for single or multiple rows or columns.
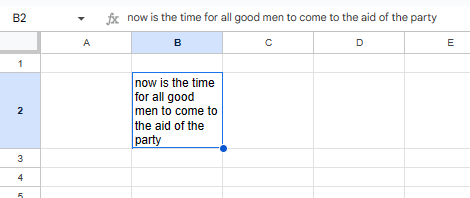
- To wrap text, click in the cell, and then in the Menu, go to Format > Wrapping > Wrap.
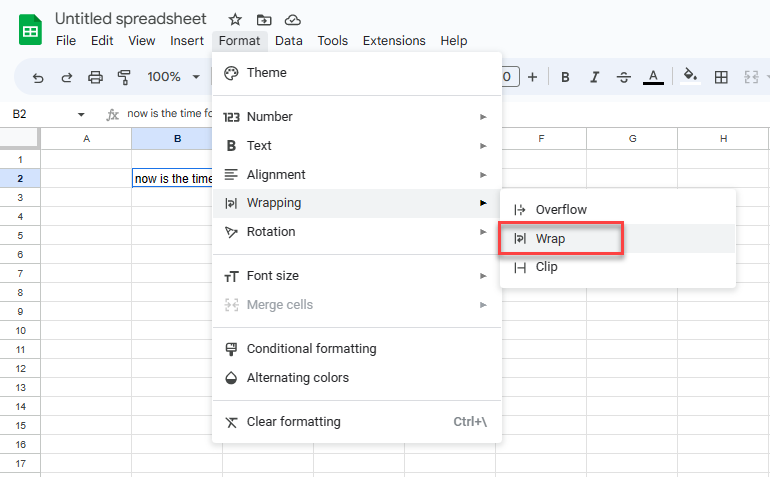
The text is wrapped in the cell, keeping the original column width but increasing row height.
- Adjust the column width as needed by dragging the cell border to the right.