How to Customize the Ribbon in Excel
Written by
Reviewed by
This tutorial demonstrates how to customize the Excel Ribbon.

In this Article
Customize the Ribbon
The Ribbon in Excel allows you to access commands and features available. The most popular and used commands and features are on the Ribbon by default. You may wish to add commands you use daily, or add new features to the Ribbon that don’t currently exist. There are several ways to customize the Ribbon.
To start, right-click on the Ribbon, and then click Customize the Ribbon…

OR
In the Ribbon, go to File > Options > Customize Ribbon.
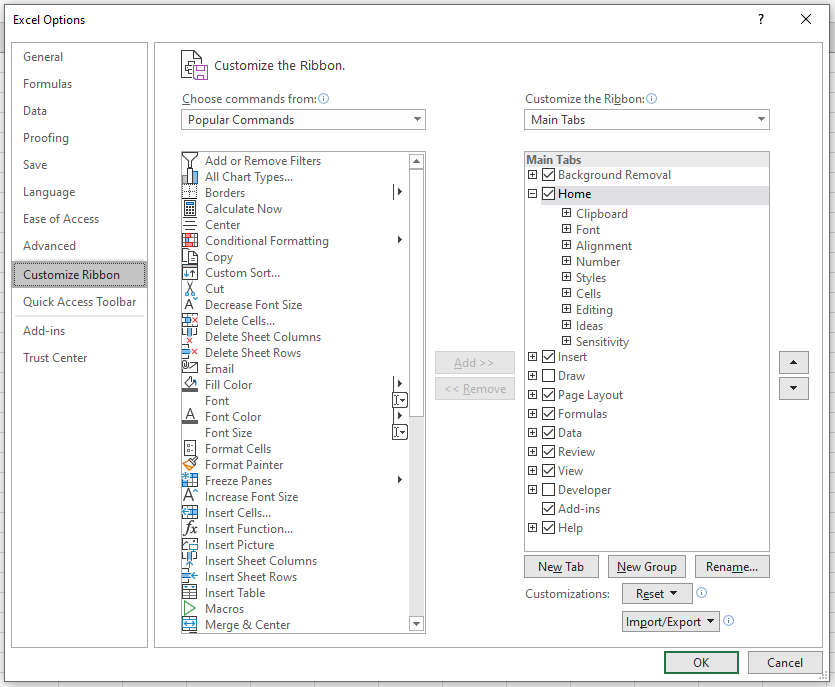
The list on the right shows a list of all the main tabs that are visible on the Ribbon. By default, some of these tabs are hidden (namely the Draw and Developer tabs).
- To show these tabs in the Ribbon, make sure the box next to those two options is checked.
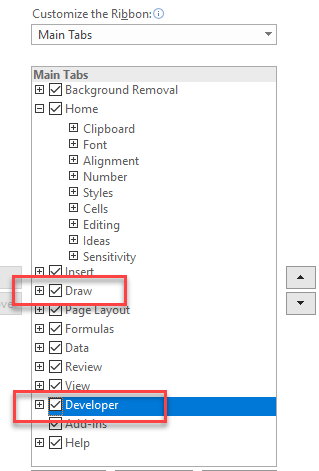
- Click OK to show those new tabs in the Ribbon.

Reorder Tabs
In Customize Ribbon Options, you can also move tabs.
- Select the tab you wish to move, and then click the Move Up (to move the tab to the left on the Ribbon) button or the Move Down (to move the tab to the right) button.
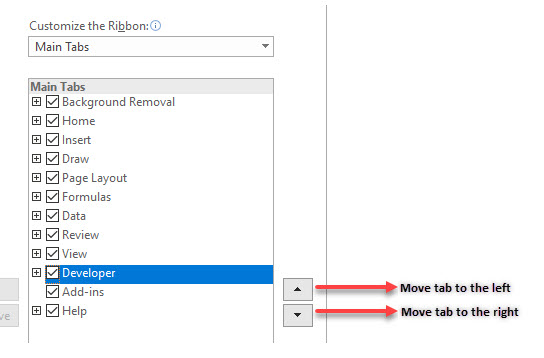
- Click OK to update the Ribbon.
Rename Default Tabs and Groups
You can rename any of the tabs and groups within the tabs on the Ribbon.
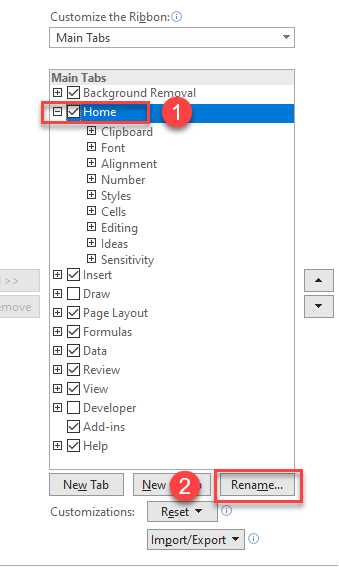
- In the list of tabs on the Customize Ribbon Options window, select the tab you wish to rename and click Rename…
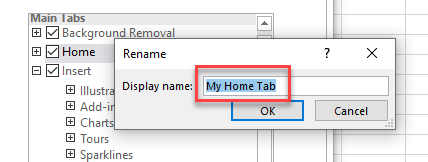
- Type in the new name and click OK.
You can also rename a group in the same way by selecting the group in the list and then clicking Rename.
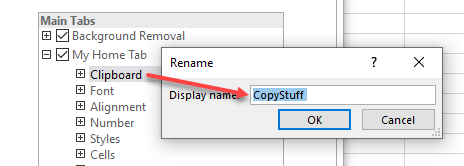
Your custom names, instead of the default names, then appear in the Ribbon.

Add New Tab to the Ribbon
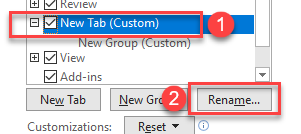
- In Customize Ribbon Options, select – in the list of tabs to the right – where you wish your new tab to go, and then click New Tab.
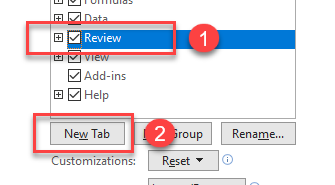
This creates a new tab and a new group within that tab.
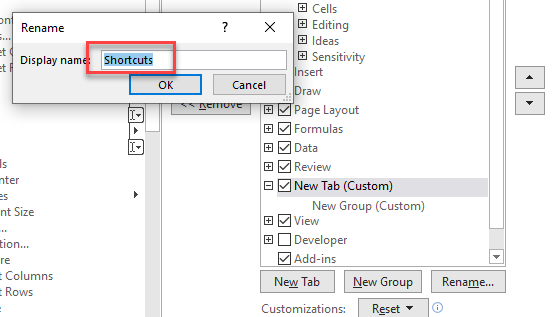
- Click on the new tab, and then click Rename…
- Type in the new name, and then click OK.
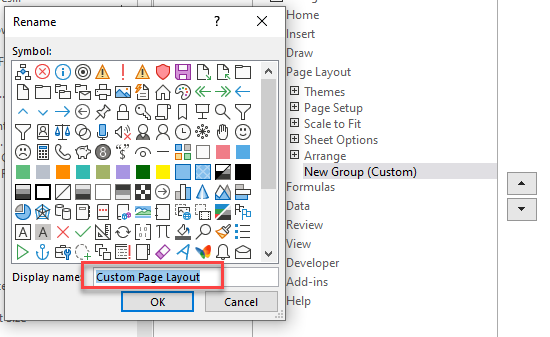
- You can also rename the group by clicking the New Group and clicking on Rename…

- Type the name for the group and click OK.
- You can add additional groups to your new tab by clicking the New Group button. A group is not visible on the Ribbon until you add new commands to it.
Add New Custom Group
You can add new custom groups to existing or custom tabs in the Ribbon.
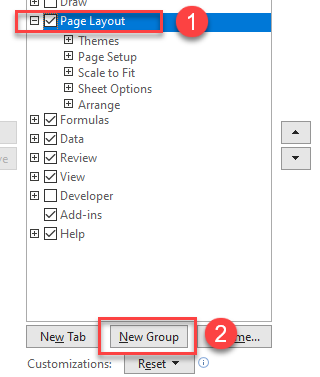
- In the Customize Ribbon Options dialog box, select the tab you want, then click New Group.
- Select the New Group and click Rename…
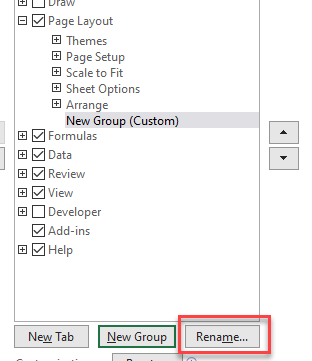
- Type in the name for your group and click OK.
A group is not visible on the Ribbon until you add new commands to it.
Add Command Buttons to Group
Now, you can add commands to the new group.
- Select the command you wish to add to the group from the list of commands on the left, and then click the Add >> button to add them to the group.
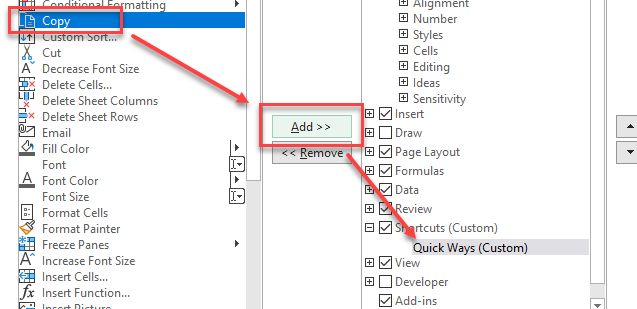
- Repeat as often as needed, selecting the command from the left and clicking Add >> to add it to the group on the right.
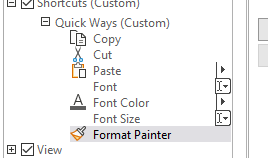
- Click OK to make the new tab and group visible in the Ribbon.
Remove Command Buttons From Group
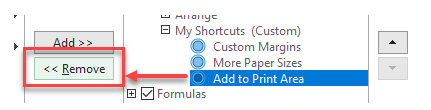
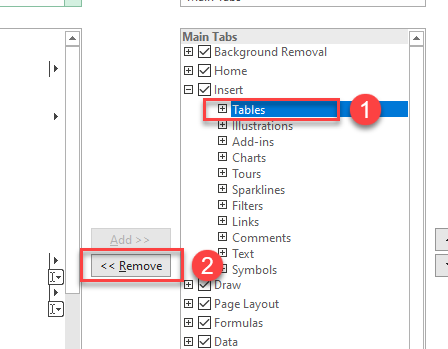
Use the <<Remove button to remove any unwanted commands from the selected group in the Ribbon.
Note that you can only remove commands from the custom groups you have created; you cannot remove any commands from the default groups.
Remove Group From Tab
You can also use the <<Remove button to remove a group from either a default tab or a custom tab.
- While still in Customize Ribbon Options, in the list of Main Tabs, select the group you wish to remove, and then click << Remove.
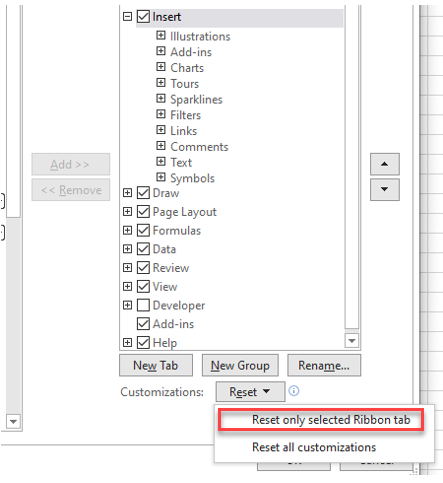
- If you wish to put a group you have deleted from a default group back into that group, select the relevant group, and then in the Reset drop down, choose Reset only selected Ribbon tab.
However, if you remove a custom group, you would need to recreate it.
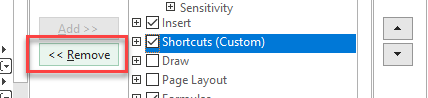
Remove Custom Tab
In Customize Ribbon Options, select the tab you wish to remove, and then click <<Remove.
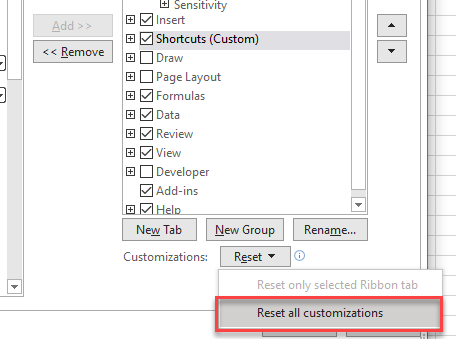
Reset the Ribbon
You can also remove custom tabs (and any other customizations you made) by clicking Reset > Reset all customizations.
One benefit of resetting the Ribbon to its default state is that it might be easier to follow tutorials like this one!
Customize the Quick Access Toolbar
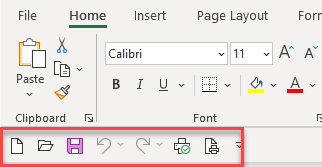
The Quick Access Toolbar can be found above the Ribbon in Excel. By default it contains AutoSave, Save, Undo, and Redo. The purpose of this toolbar is to show commands you use on a daily basis, thus making them “quick access.”
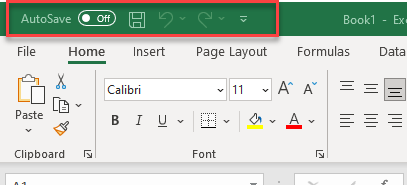
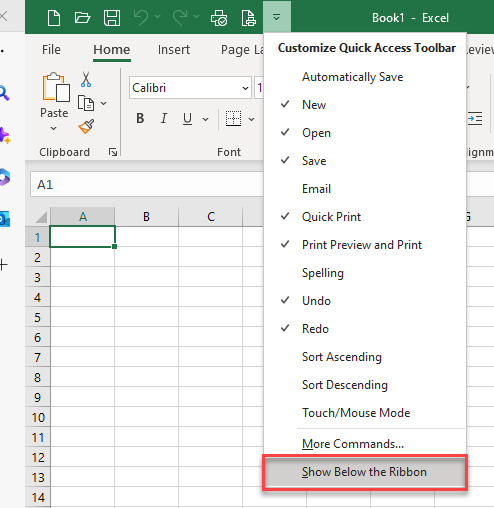
- You can customize the quick access toolbar by clicking on the small arrow on the right side of the toolbar.
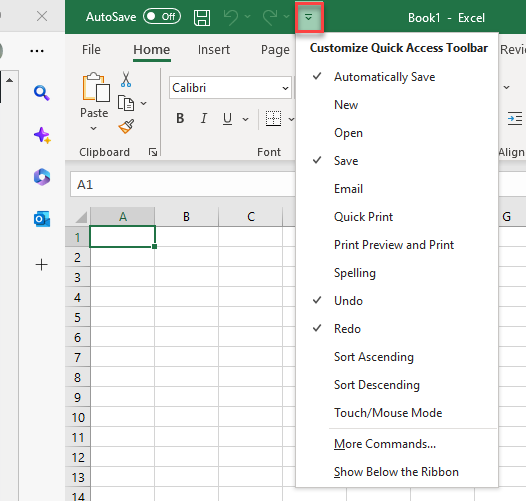
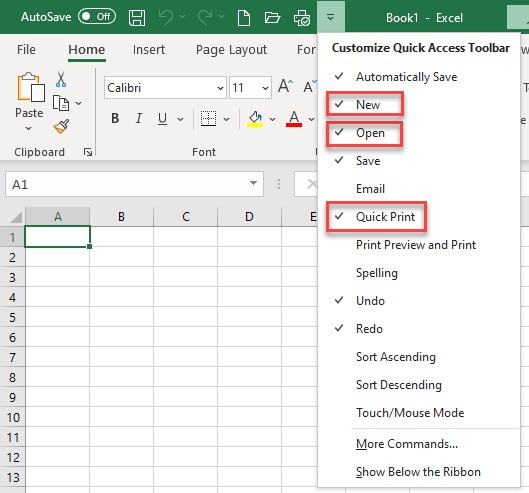
- Select the commands that you might use very often – such as New, Open, and Quick Print. Each time you tick a command, you need to click again on the small arrow to get back to the Customize Quick Access Toolbar menu.
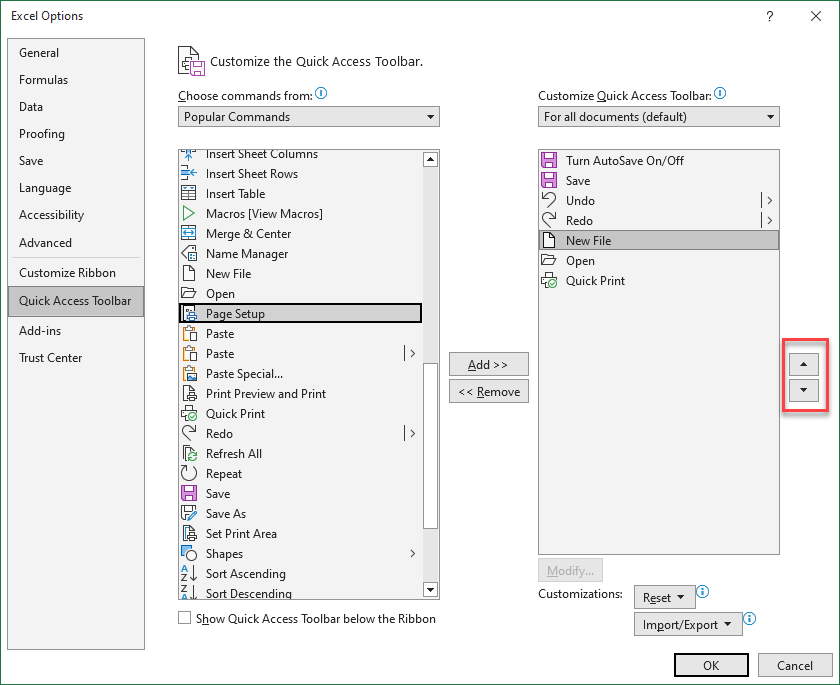
- To add any other commands to the toolbar, or to rearrange the order of the current commands, click More Commands.
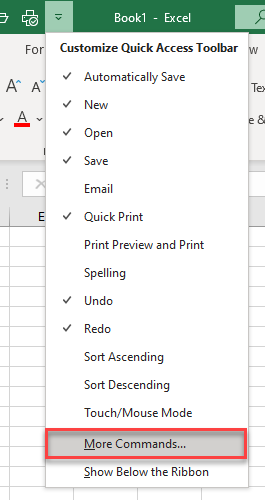
- As with the Ribbon, you are able to add any command to the quick access toolbar. You can also use the up and down arrows to rearrange the order of commands on the toolbar.
Reset Quick Access Toolbar
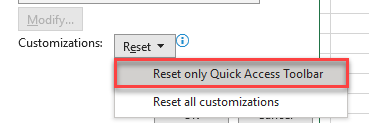
Should you wish to reset the toolbar back to the default settings, click the Reset drop down and click Reset only Quick Access Toolbar. Click OK to apply your changes.
Move the Toolbar
You can also choose to show the quick access toolbar below the Ribbon by clicking Show Below Ribbon.
The toolbar is now shown below the Ribbon.