How to Set the Print Area in Excel & Google Sheets
Written by
Reviewed by
In this tutorial, you will learn how to set print areas in Excel and Google Sheets.

Print Area on Selected Range
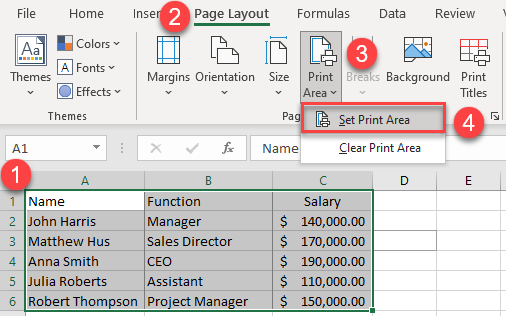
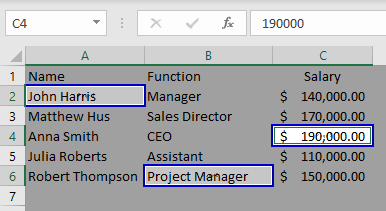
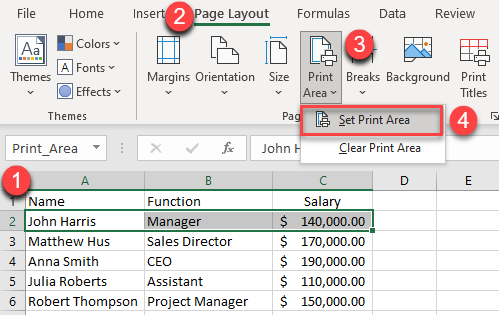
- To set the print area a range of data in Excel, first select the range you want to set as print area. Then in the Ribbon, go to Page Layout > Print Area > Set Print Area.
- In the Ribbon go to View > Page Break Preview.
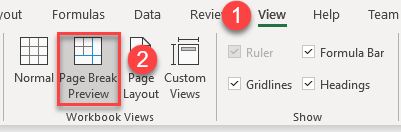
As a result, you can see the print area that you selected.
Set Non-Adjacent Ranges as Print Area
- To set non-adjacent ranges, click on the first cell you want to choose. Then press the CTRL key on the keyboard and individually select the rest of the cells you want to add. Now that you’ve selected your non-adjacent range, you can proceed to set that as a print area.
- To do that, in the Ribbon, go to Page Layout > Print Area > Set Print Area.
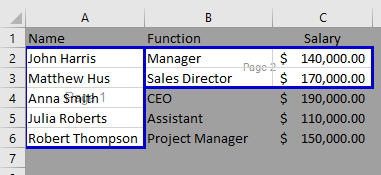
As a result, you have three print areas, and each will print as a separate page.
Set Print Area for Multiple Ranges
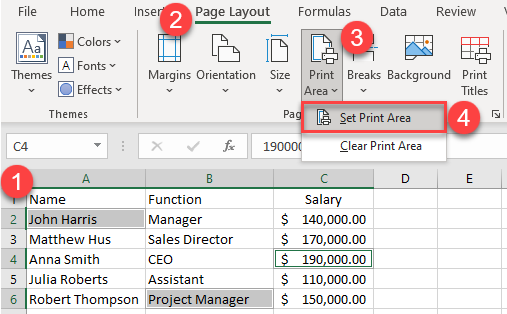
- To set multiple ranges, start by selecting the first range you want to set as print area. Then in the Ribbon, go to Page Layout > Print Area > Set Print Area.
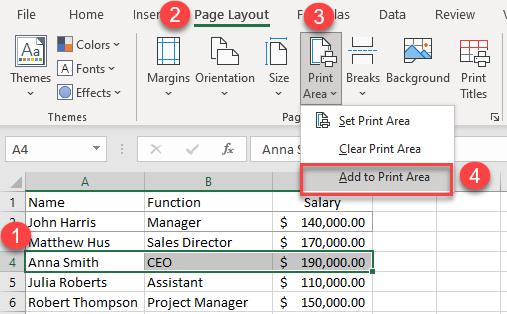
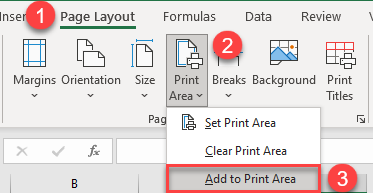
- To add another range to the print area, select another range of data, and then in the Ribbon, go to Page Layout > Print Area > Add to Print Area.
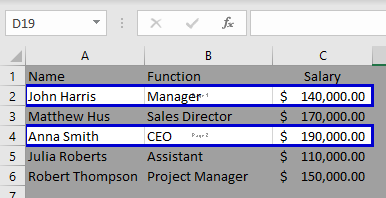
As a result, you simultaneously have two ranges of data in the print area. Each will print on a separate page.
Extend the Print Area
To extend an existing print area, select the cells you want to add, and in the Ribbon, go to Page Layout > Print Area > Add to Print Area.
If you are adding adjacent cells, you will just enlarge the existing print area; but if you are adding non-adjacent cells, you will create a new print area. In the second case, each print area in that worksheet will print as a separate page. In this example, you end up with two different print areas.
Clear a Print Area
To clear a print area, click anywhere on a worksheet where that print area is, and in the Ribbon go to Page Layout > Print Area > Clear Print Area.

This deletes the print area. If your worksheet contains multiple print areas, clearing a print area removes all the print areas on your worksheet. Pagination returns to default.
Set Print Area in Google Sheets
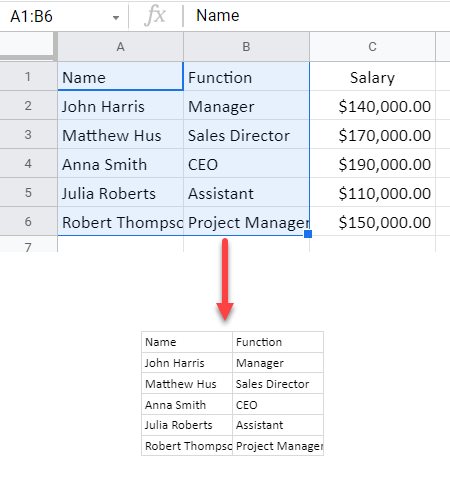
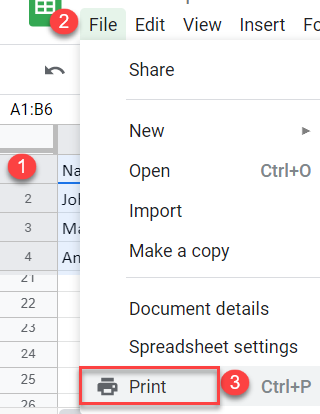
- As a first step, select the range of data you want to print, after that in the menu go to File > Print (or use the shortcut CTRL + P).
- The Print settings window will appear. Under the Print option, choose Selected cells.
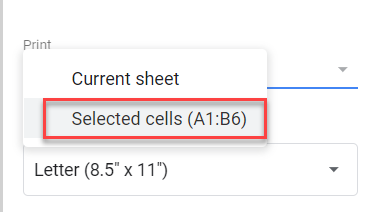
As a result, only the cells you selected will print.