How to Convert a CSV File to XLSX (Excel) or Google Sheets
Written by
Reviewed by
This tutorial demonstrates how to convert a CSV file to Excel or Google Sheets.
In this Article
Excel has the ability to open or import both CSV and TXT files.
Open a TXT or CSV File in Excel
- In the Ribbon, go to File > Open > Browse, and then choose the text or CSV file to be opened.
The Text Import Wizard opens to the first of three steps.
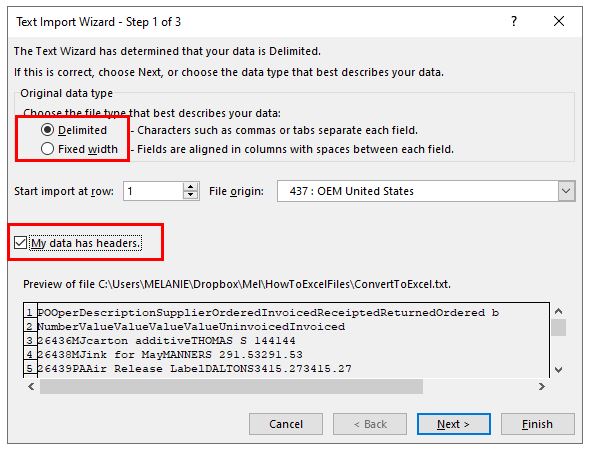
- Depending on the data contained in the file, you can either choose Delimited or Fixed Width as the file type. If the data is separated with a character like a comma, semicolon, space, or tab, choose Delimited. If the first row of data contains column headings, check My data has headers.
- Click Next for Step 2.
- In Step 2, choose the type of delimiter contained in your text file – in this case, tab delimiter.
- Then choose the text qualifier. In some cases, data may be enclosed in quotation marks, but for this example, (none) is selected as the text qualifier.
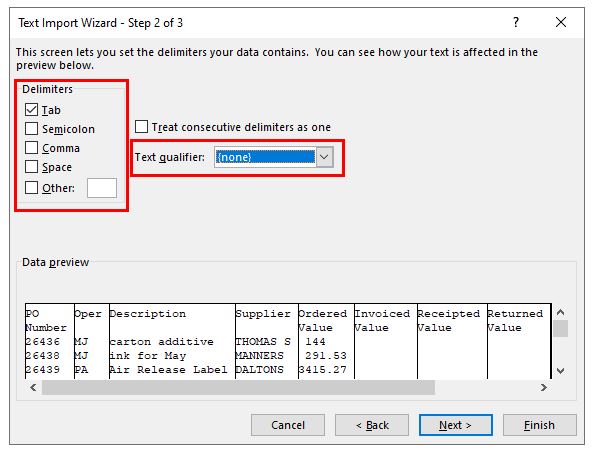
- Click Next for Step 3.
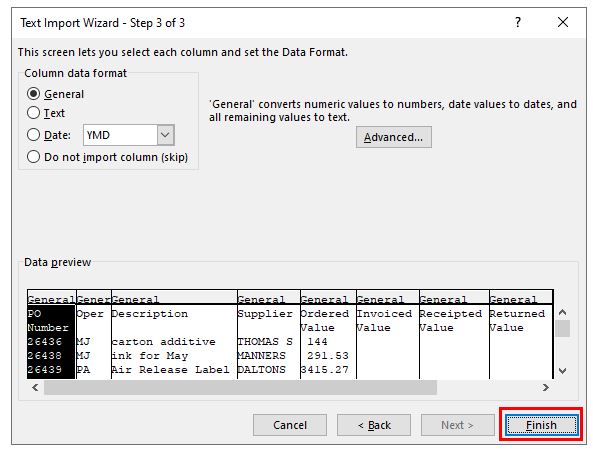
- The final step of the Text Import Wizard lets you specify the data type for each column. Most of the time, Excel will be able to determine the data type automatically, and you can leave the Column data format as General.
- Click Finish to import the data into Excel.
Open a CSV File in Excel From Windows Explorer
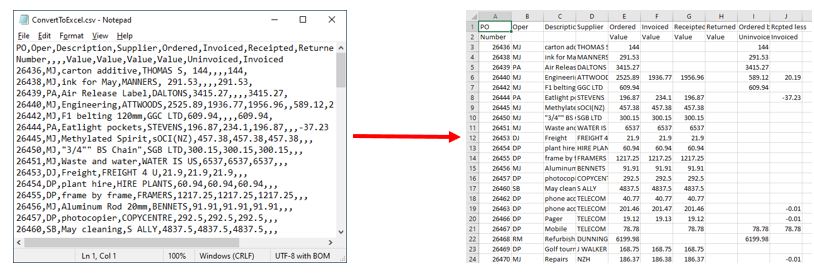
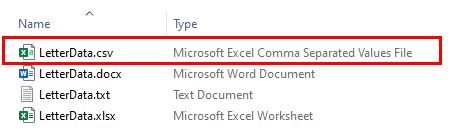
A CSV file is similar to a text file, but due to the fact it has the .csv extension, it is typically shown in Windows Explorer as associated with Excel.
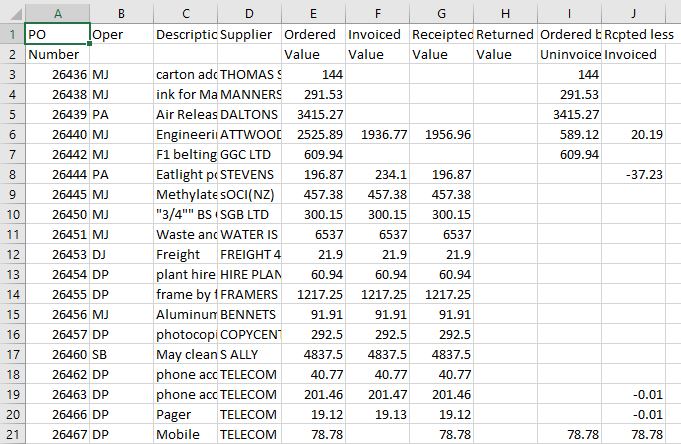
This means that, when you double-click on the file in Windows Explorer, it automatically opens in Excel. As it is a comma-delimited file, Excel automatically separates the data into columns, without the need to use the Text Import Wizard.
If a CSV file does not show the Excel icon, then it won’t open automatically in Excel, but that can be changed.
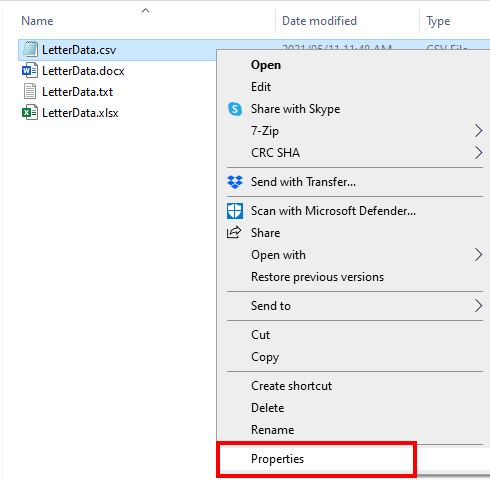
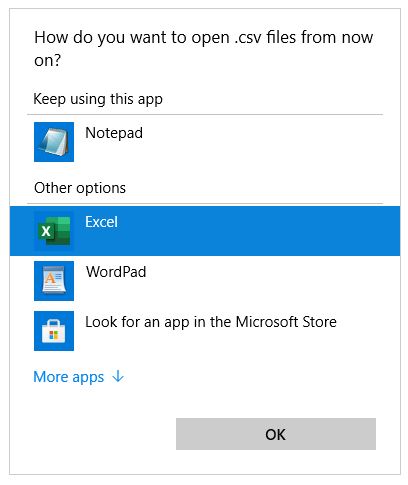
- To associate a CSV file with Excel, right-click on the file in Windows Explorer and then click Properties.
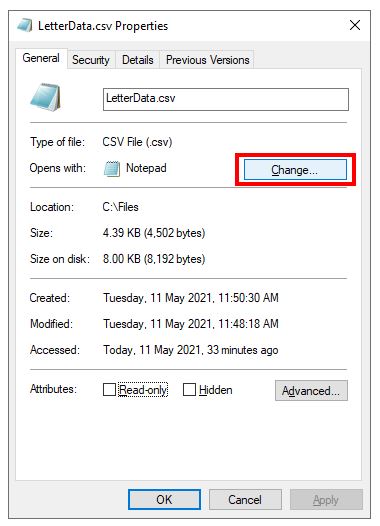
- To the right of Opens with, click Change.
- Choose Excel, and then click OK.
- All CSV files now automatically open with Excel. Double-click on the CSV file from Windows Explorer to open the file in Excel.

-
- The delimiter in the file (in this case, a comma) and file origin are automatically detected. Excel parses the columns based on the data contained in the file as determined by Excel. Click Load to import the data into Excel.
Import a Text File: Get Data
An alternate way to import data into Excel from a text or CSV file is to use the Get and Transform Data command.
- In the Ribbon, go to Data > Get and Transform Data > From Text/CSV.
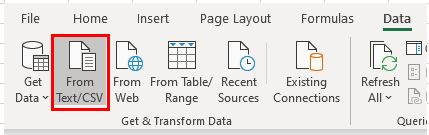
- Find the file you want, and then click Import.
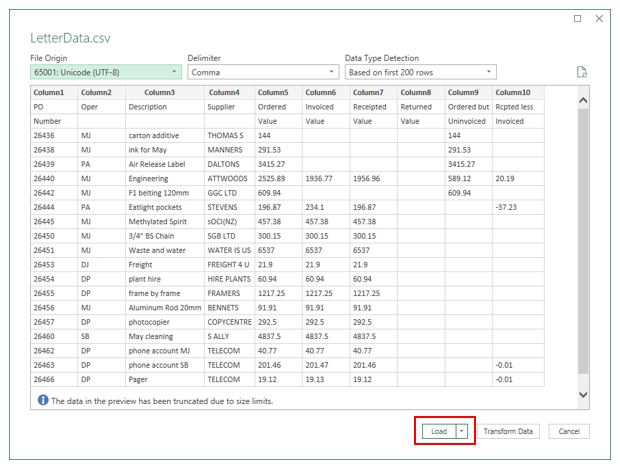
- The file appears in a dialog box with the delimiter already automatically detected, and the text divided by Excel according to the data stored in the CSV file. Click Load to import into Excel.
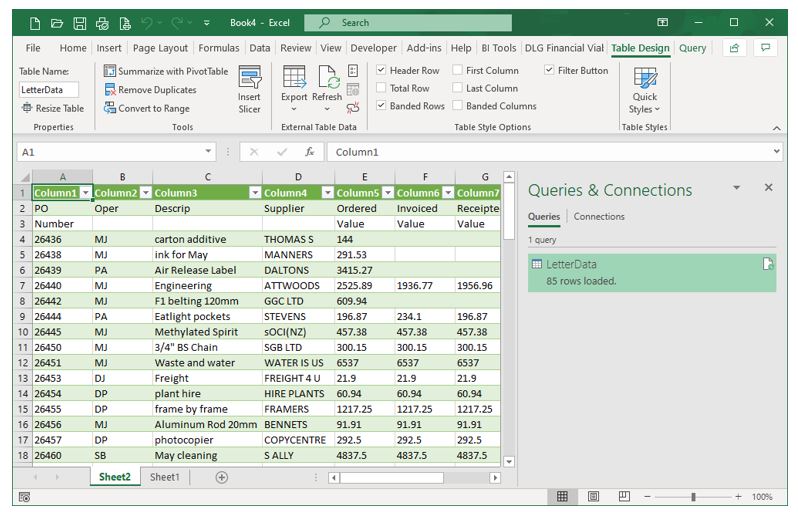
The data now appears in a new sheet in Excel. There are now two new tabs on the Ribbon: Table Design and Query. A Queries & Connections pane appears on the right-hand side of the screen. This shows you that the data is linked to the CSV file and if any data in the CSV file changes (external to Excel), then the data displayed in Excel would change too. This is especially useful when the data in Excel is linked to an external file such as a database.
- To unlink the imported data from the external CSV file, in the Ribbon, go to Table Design, External Table Data > Unlink.

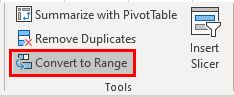
- The data is imported into Excel as a table. To convert it to a standard range, in the Ribbon, go to Table Design > Tools > Convert to Range.
The Table Design and Query tabs on the Ribbon disappear.
Convert a CSV File to a Google Sheet
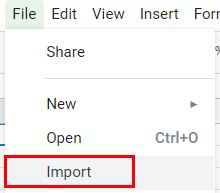
- From the File menu, click Import.
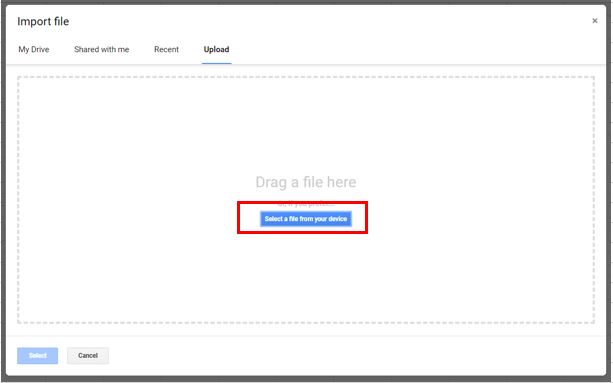
- Click Upload, and then click Select a file from your device to browse for the file you need.
- The name of the file to be imported is displayed under File with the default options available for importing.
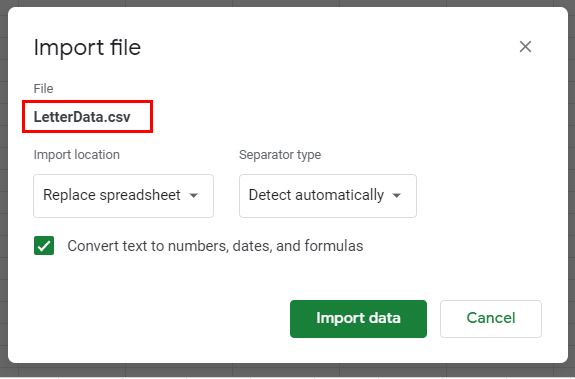
- To change the Import Location, click the drop down under Import Location and choose from the options.
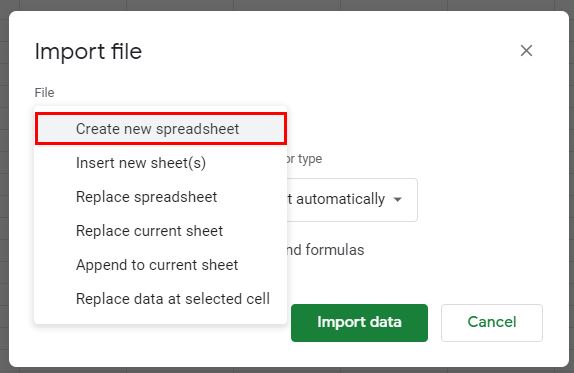
- To change the delimiter, choose from the drop down under Separator type.

- Keep Convert text to numbers, dates, and formulas checked, and then click Import Data to import the file into Google Sheets.
