How to Create a Floating Table in Excel
Written by
Reviewed by
Last updated on May 24, 2023
This tutorial demonstrates how to create a floating table, one that can move with you, in Excel.
Create a Floating Table
To create a floating table in Excel, use the Camera tool. The Camera captures an image of a dataset – be it a range of cells, a chart, or a table. Once the image is captured, you can move it around your worksheet like any other picture. The advantage is however, that it is linked to the original source data and should that source data change, then your image is updated to reflect the changes.
- First, make the Camera accessible by adding it to the quick access toolbar. (Click here for instructions on adding icons to the Ribbon, and specifically the quick access toolbar.)
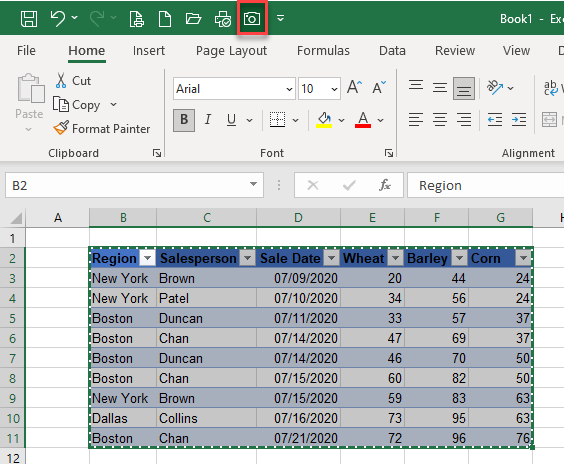
- Highlight the table that you wish to create a floating table from, and then on the toolbar, click the Camera icon.
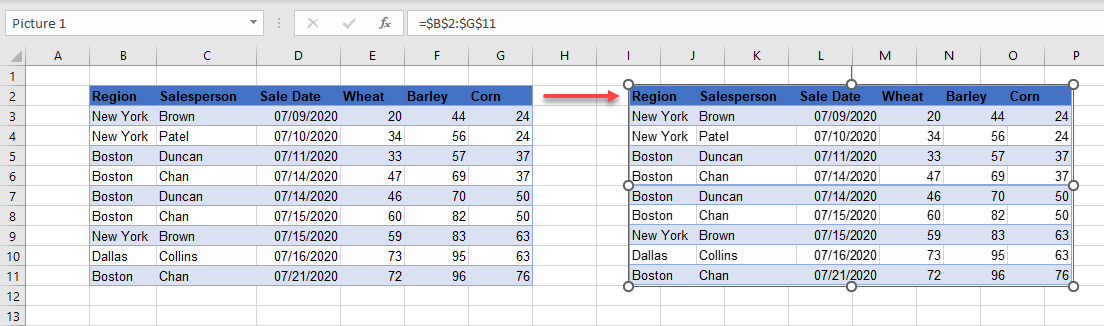
- Click where you wish the floating table to be placed. it’s automatically inserted into your worksheet at this location.
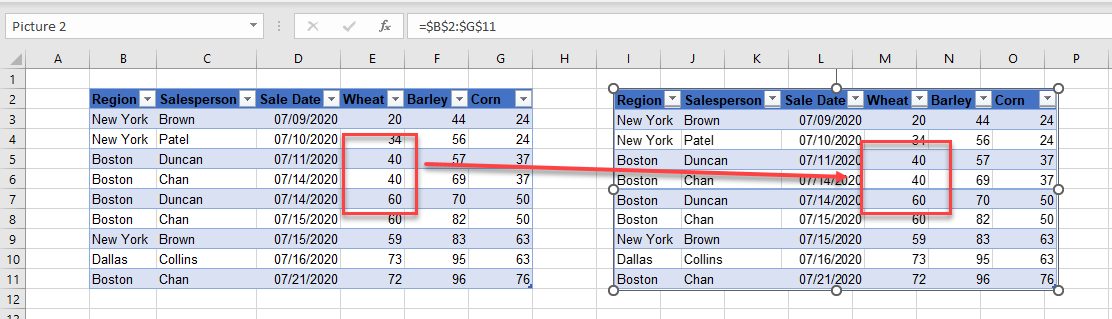
- Now, change some values in your original table. Your floating table updates automatically.
More on tables…
