Add Gradient Fill to Shapes / Cells in Excel & Google Sheets
Written by
Reviewed by
Last updated on May 15, 2023
This tutorial demonstrates how to add gradient fill to shapes and cells in Excel and Google Sheets.
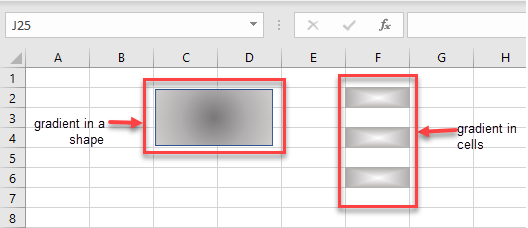
Add Gradient Fill to a Shape
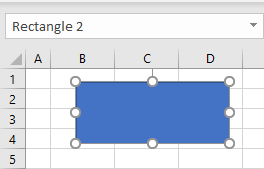
- Select the shape in your worksheet where you want to apply gradient fill.
- A new tab, Shape Format, shows up on the Ribbon. Go to Shape Format > Shape Styles > Shape Fill > Gradient.
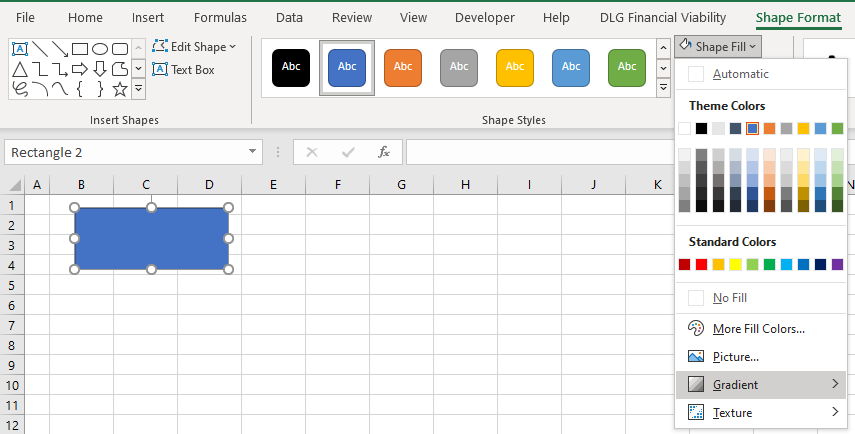
- You can either choose the Gradient from the preset gradients shown, or you can click More Gradients…
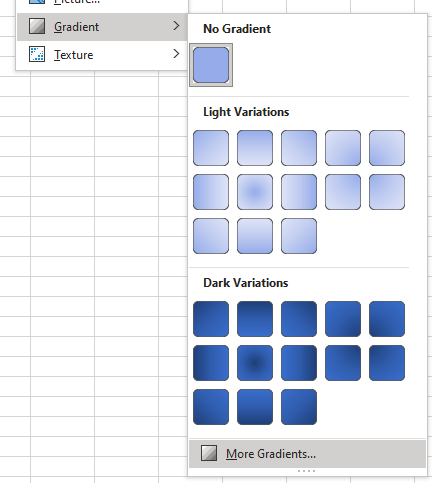
- If you choose More Gradients, a task pane opens on the right side of your Excel screen called Format Shape.
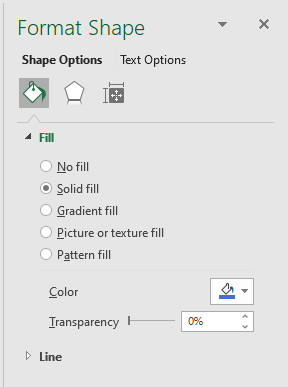
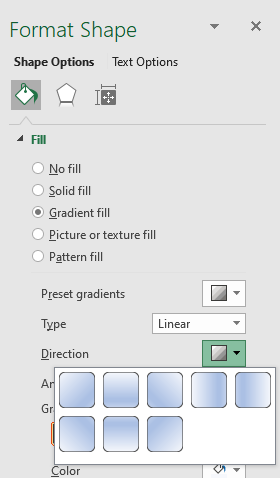
- Choose Gradient fill, and then choose the Type from the drop down (e.g., Linear). Then choose the Direction you want your gradient to go.
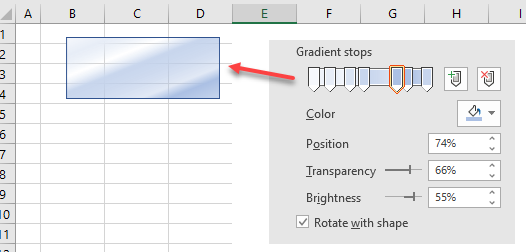
- You can also add Gradient stops to your gradient and adjust the position and transparency of them. This changes the gradient appearance in the shape.
Add Gradient Fill to a Cell
To add a gradient to a cell, edit the background color of the cell.
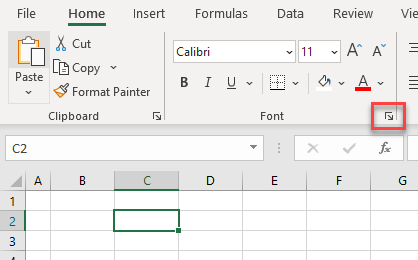
- Select the cell where you want the gradient to go, and then in the Ribbon, go to Home > Font and then click Font Settings.
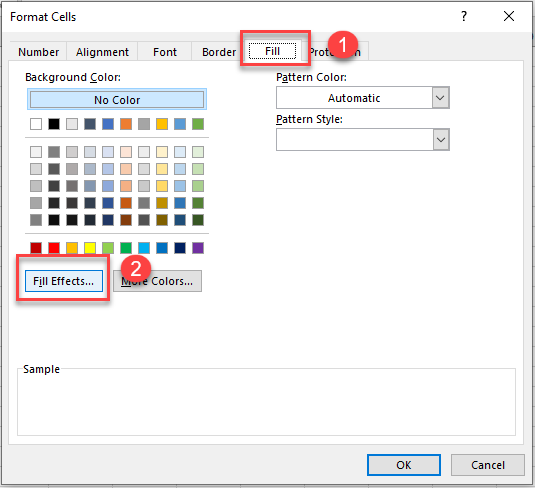
- In the Format Cells dialog box, click the Fill tab, and then click Fill Effects…
- In the Fill Effects dialog box, pick the two colors you would like in your gradient, and then choose the Shading style and Variant you want.
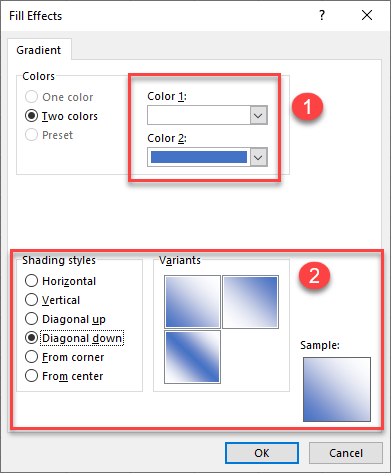
- Click OK and then OK once again to apply the gradient to the cell.

Also see how to use VBA to change background color.
Add Gradient Fill in Google Sheets
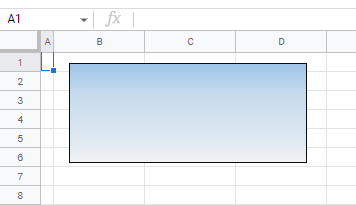
You cannot apply a gradient to a cell in Google Sheets, but you can apply it to a shape.
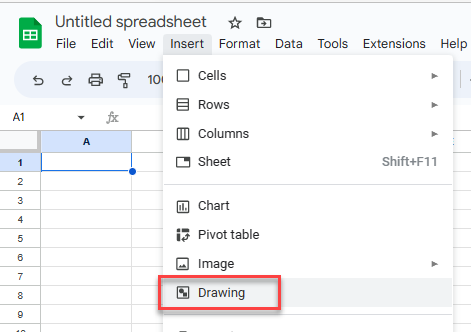
- To create a shape in your Google sheet, in the Menu, go to Insert > Drawing.
- In the drawing pane, click the Shape icon in the Toolbar, expand Shapes, and then choose a shape (e.g., rectangle).
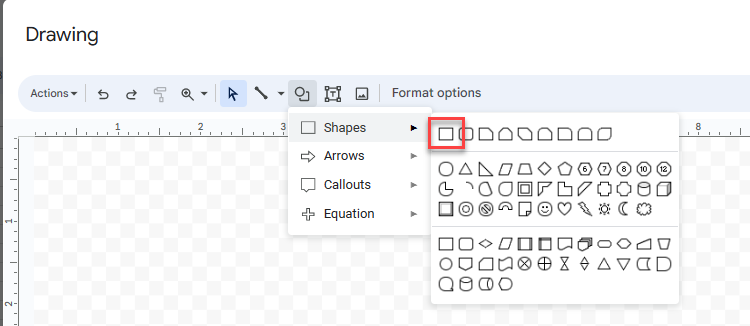
- Click and drag in the drawing palette to create your shape.
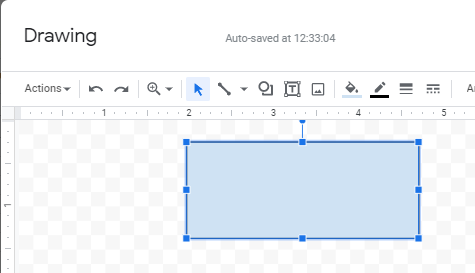
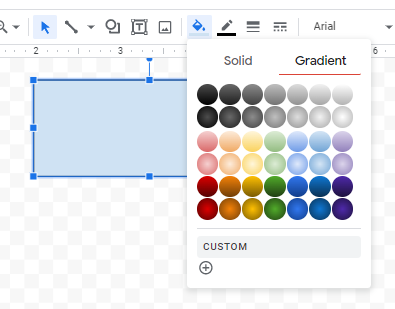
- In the Toolbar, click Fill color, and then go to Gradient.
- Choose the Type of gradient and the Angle. Then optionally, add Gradient Stops. You can adjust the color of each stop as well as the starting color and ending color of the gradient.
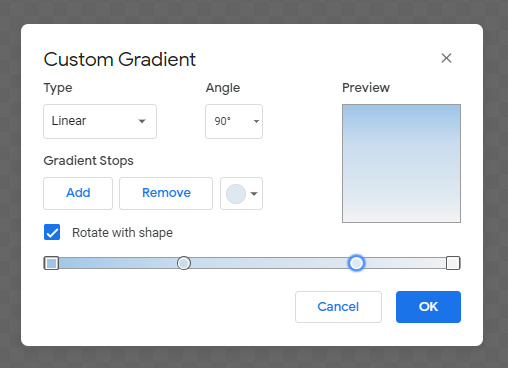
- Click OK, and then click Save and Close to return to your worksheet.
