How to Insert Multiple Checkboxes in Excel & Google Sheets
Written by
Reviewed by
This tutorial demonstrates how to insert checkboxes in Excel and Google Sheets.
Add the Developer Tab to the Ribbon
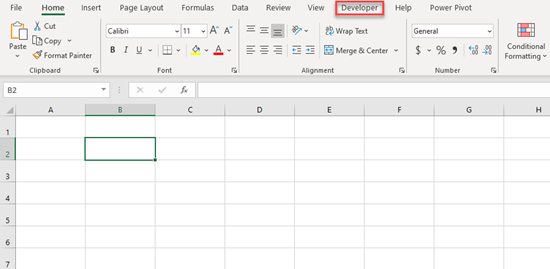
In Excel, checkboxes are created using Form Controls in the Developer tab. If you don’t already have Developer visible on the Ribbon, you’ll need to add it to work with checkboxes.
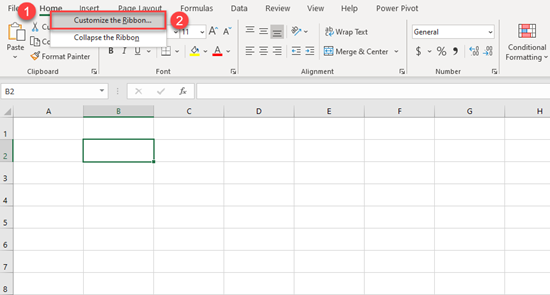
- Right-click any tab name in the Ribbon and choose Customize the Ribbon.
- To the right of the pop-up screen, under Main Tabs, check Developer and click OK.
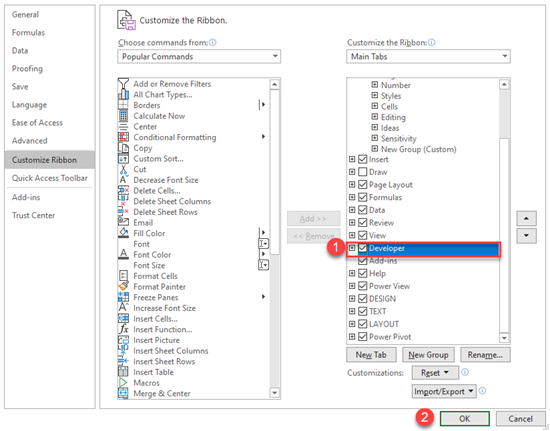
Now the Developer tab is visible in the Ribbon, with plenty of options available, including the ability to add checkboxes.
Insert a Single Checkbox
Let’s first show how to add one checkbox in Excel; later, you’ll duplicate it to create multiple checkboxes.
- Click on the Developer tab in the Ribbon, then go to Insert and choose Check Box in Form Controls.
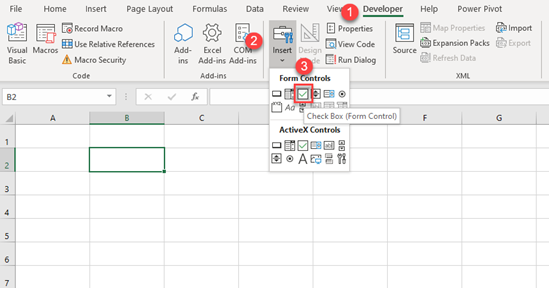
- Use the cursor to insert the checkbox wherever you click in the sheet.
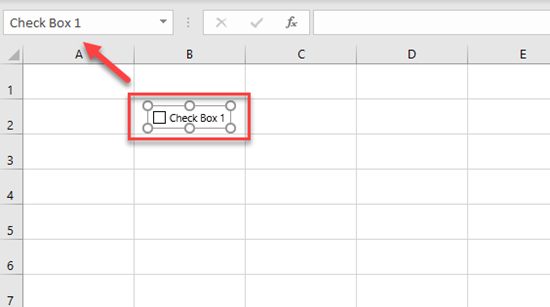
When you insert the checkbox, you can position it by using arrows on the keyboard or just dragging it to the desired position. To select the checkbox, just right-click it.
Change the Text Displayed by the Checkbox
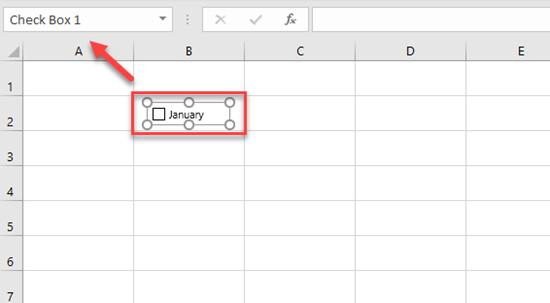
If you want to change the displayed text, right-click on the checkbox, choose Edit Text, and type in your text.

The text in the checkbox is now January, but the text in the Name Box remains the same: Check Box 1. This name is how Excel recognizes the object, while January is just the display text shown alongside the checkbox.
Link the Value of the Checkbox to a Cell
With the checkbox in the worksheet, you need a way to determine whether or not it is checked. To do this, link the checkbox to a certain cell. Excel then populates this cell with TRUE (if the checkbox is checked) or FALSE (if it’s unchecked).
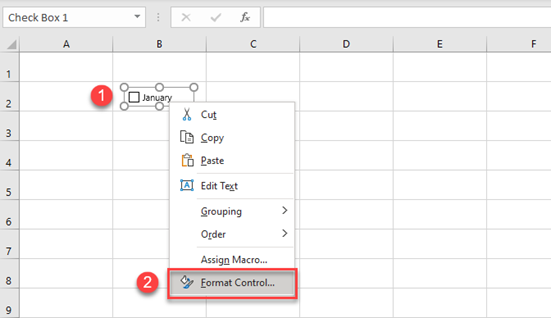
- Right-click the checkbox and choose Format Control.
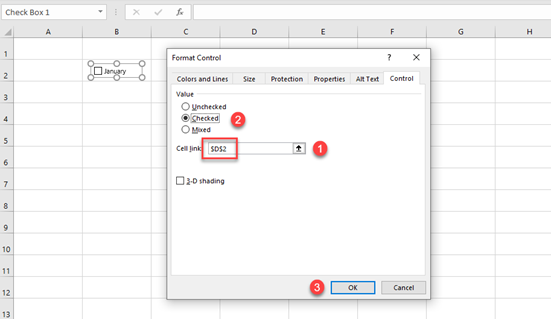
- In the Control tab of the pop-up screen, enter a cell reference in the Cell link box and press F4 on the keyboard to fix the cell (here, cell D2).
You can also specify whether you want the checkbox to be checked or unchecked by default when the workbook is opened. In this case, it should be checked, so select Checked and click OK.
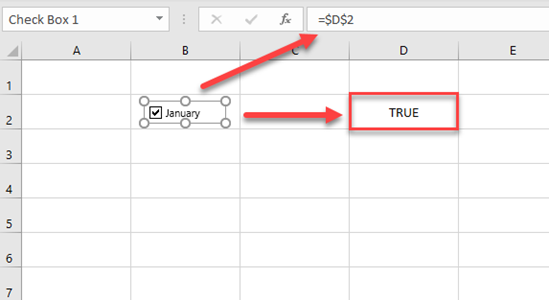
The checkbox is checked, and the value of cell D2 is TRUE. As you can see in the picture below, if you select the checkbox, $D$2 is shown in the formula bar. This means the checkbox is linked to cell D2.
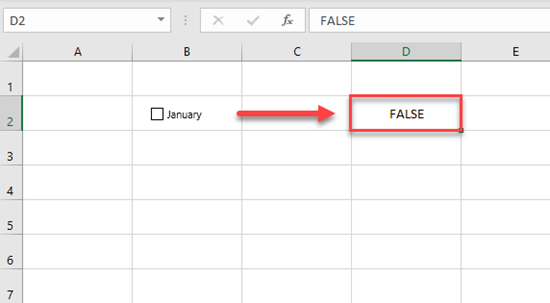
If you uncheck the checkbox, the value in D2 changes to FALSE.
Insert Multiple Checkboxes
You can easily insert additional checkboxes using the first one. If, for example, you want to have a checkbox for each month in a year, you’ll need to add eleven more.
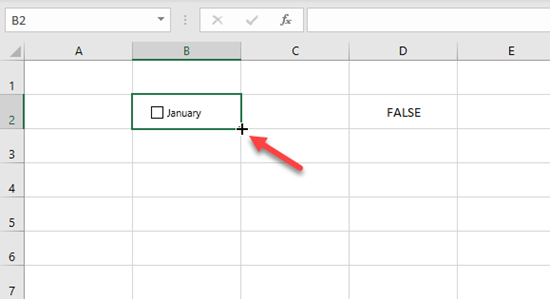
- Position the checkbox in a cell. In this case, position the January checkbox in cell B2.
- Now select cell B2, click on the fill handle in the bottom right corner of the cell, and drag it down to Row 13.
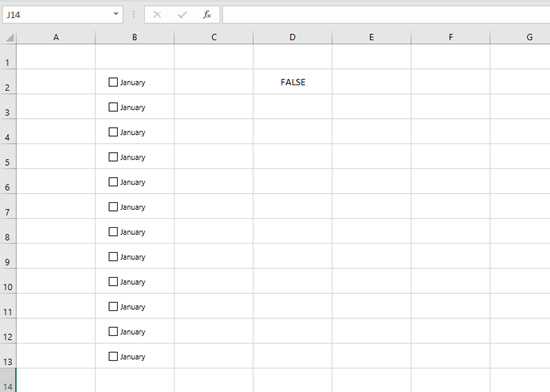
You’ll get eleven more checkboxes (in cells B3:B13) with the same text (January).
These new checkboxes are copies of the initial one in cell B2 and therefore have the same settings as the original, except for the name. Names of new checkboxes are automatically generated as Check Box 2, Check Box 3, etc. Let’s select the second checkbox and see how it looks.

As you can see in the above picture, the name in the Name Box is new (Check Box 2) while the display text is the same (January). The linked cell is also unchanged (D2). This is the same for all other checkboxes. Here is what happens if you check the second checkbox:
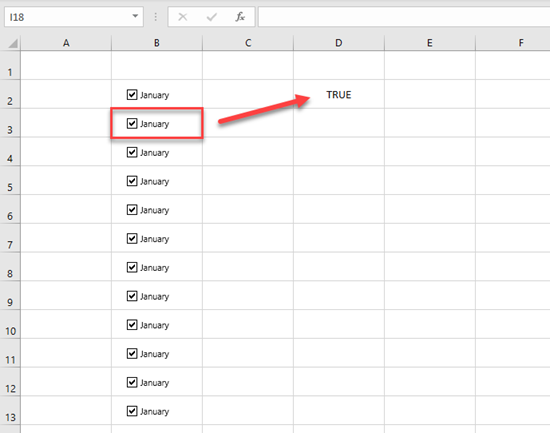
If you change any of the new checkboxes, the value of D2 changes to TRUE and all other checkboxes are checked, since all of them are linked to D2.
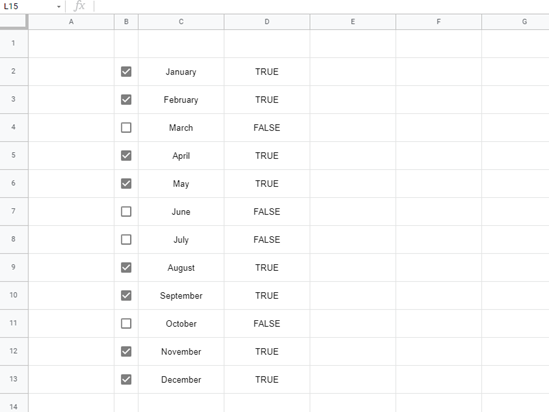
- Now change the link to the cell (D3, D4, etc.) corresponding to each checkbox. When you do this for all eleven checkboxes, the sheet looks like this:
Every checkbox is linked to a separate cell, and you can see a value for each box.
Here, March, June, July, and October are unchecked, so their corresponding cells are FALSE.
Insert Checkbox in Google Sheets
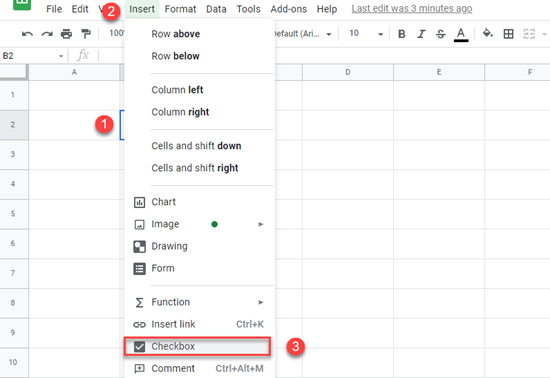
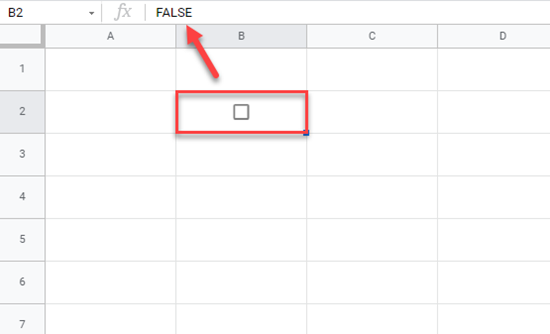
Adding a checkbox in Google Sheets is done differently, so let’s go through a similar example to see how it works. First, Select the cell where you want to insert a checkbox (B2). Then go to Insert in the menu and click on Checkbox.
A checkbox is inserted into cell B2. The cell doesn’t contain text, so the value of the cell is TRUE if the checkbox is checked, or FALSE, if it’s unchecked. Now, the value of B2 is FALSE, as the checkbox is by default unchecked.
This means you can use cells with checkboxes in formulas, as they contain TRUE or FALSE values. You also need to insert your label text in a separate column. Type January into cell C2. In cell D3, show the value of cell B2 to confirm that it can be used to retrieve the value of the checkbox.
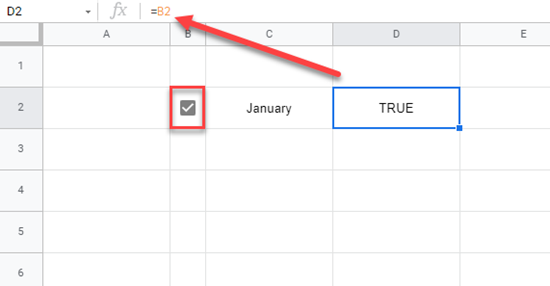
So, if you check the January checkbox the value of B2 (along with D2) changes to TRUE.
Insert Multiple Checkboxes – Google Sheets
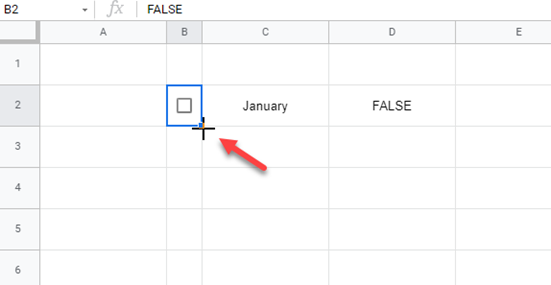
As in Excel, you can use the fill handle to copy a checkbox down the column.
- First, select cell B2. Then click on the fill handle in the bottom right corner of the cell and drag it down to Row 13.
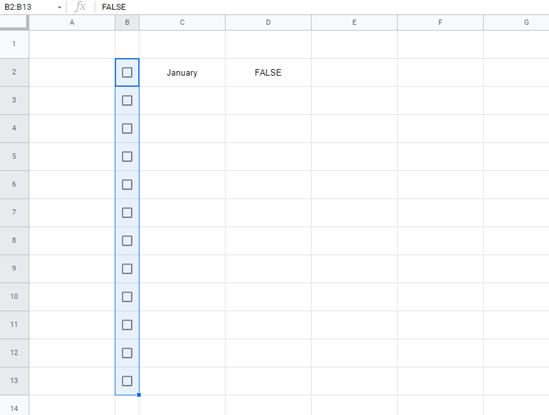
You get eleven more checkboxes inserted (in cells B3:B13), with the same text: January. Unlike Excel, all checkboxes are separate and have their own values.
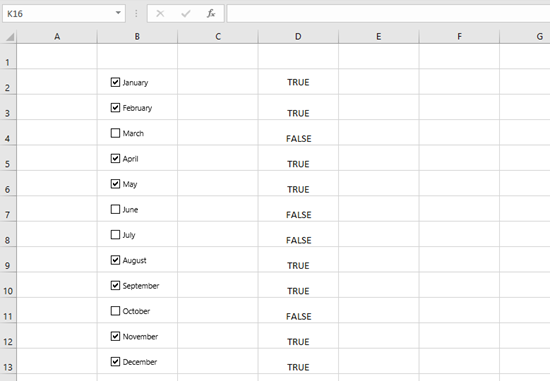
- You also need to fill Columns C and D (Month and Value) down to Row 13 in the same way.
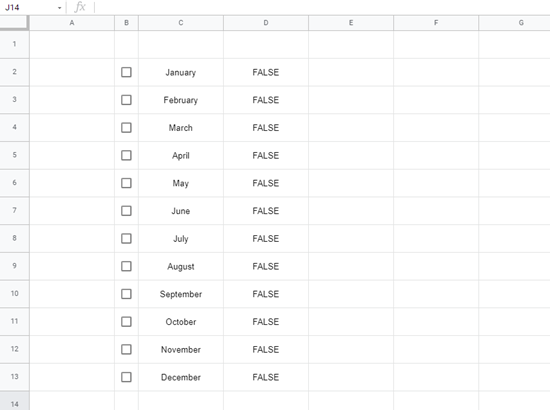
As you can see above, Google Sheets recognized months and populated them. In Column D, you have the value of the corresponding checkbox. You can now check some months and, as you can see in the picture below, Column D values update accordingly.