How to Change the Print Area in Excel & Google Sheets
Written by
Reviewed by
Last updated on August 24, 2023
This tutorial demonstrates how to change the print area in Excel and Google Sheets.
Clear and Set the Print Area
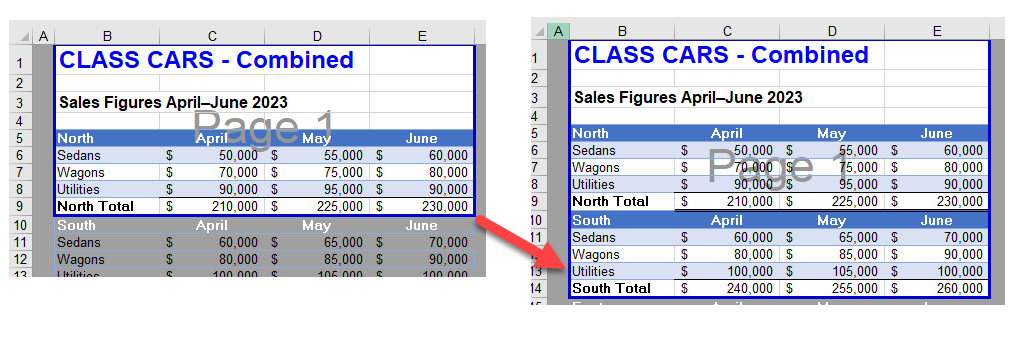
The print area in Excel is made up of the cells/regions included when you print.
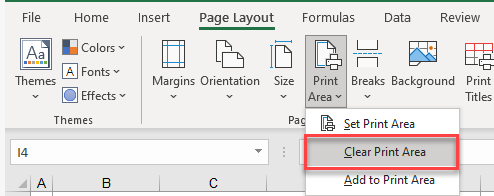
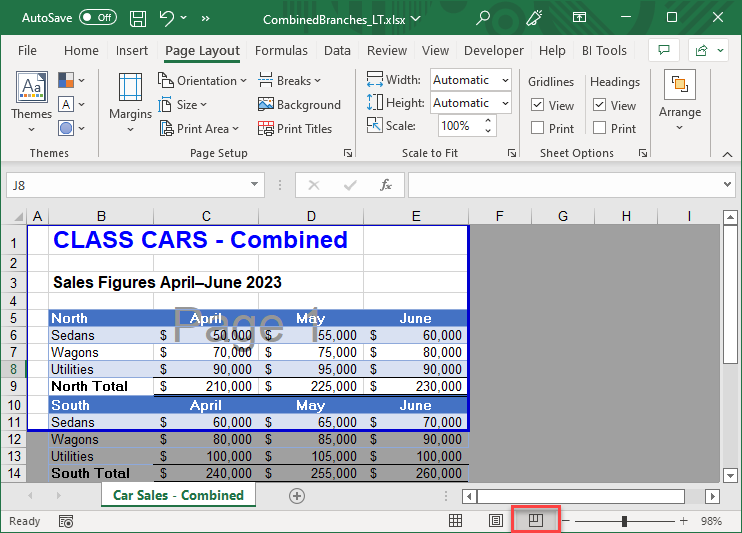
- Select the worksheet where you want to clear the print area, and then in the Ribbon, go to Page Layout > Print Area > Clear Print Area.
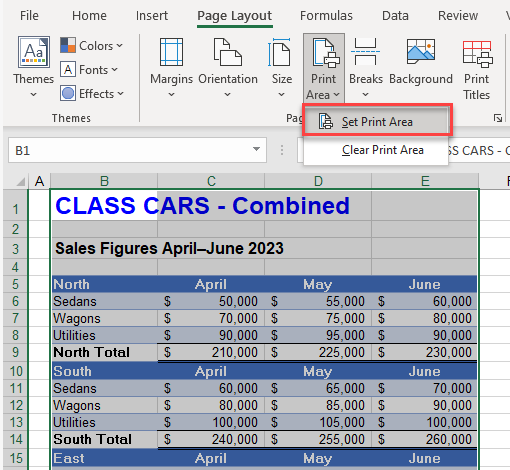
- Then, highlight the range you want to print, and in the Ribbon, go to Page Layout > Print Area > Set Print Area.
Change the Print Area in Page Break Preview
- In the bottom-right corner of your screen, change your view to Page Break Preview. This shows you the print area that is set in your worksheet.
- You can change the print area by dragging the blue outline of the print area up, down, left, or right. Note that the cursor changes to a double-headed arrow, and the new print area has a green outline.
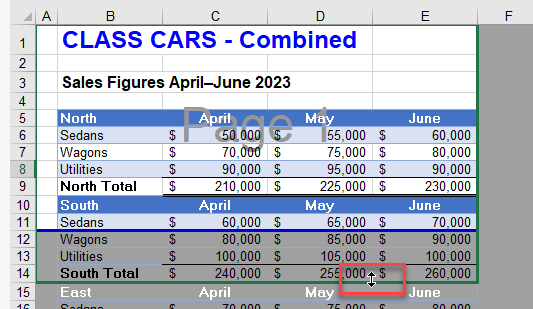
- Release the mouse to change the print area.
How to Change the Print Area in Google Sheets
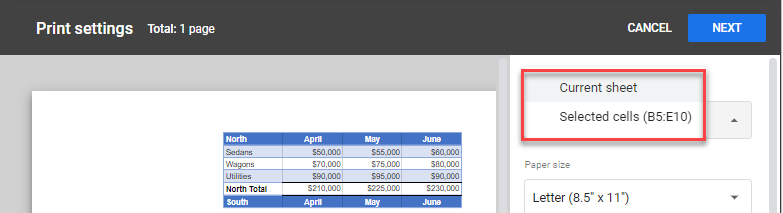
Google sheets does not have the ability to save a specific print area but you can select the range of cells you wish to print, and then chose to only print that selection rather than the entire sheet.
- Select the cells you wish to print, and then in the Toolbar, click the Print icon.
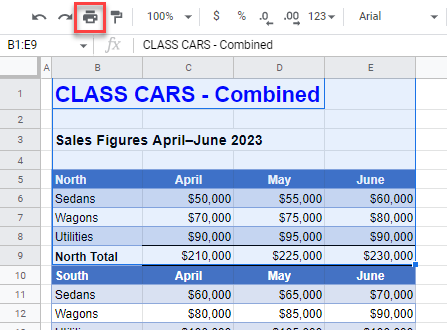
- In the Print drop down on the right side of your screen, choose Selected Cells to print only the cells you have selected.