How to Use Document Inspector in Excel
Written by
Reviewed by
This tutorial demonstrates how to use Document Inspector in Excel.
Document Inspector
Excel’s Document Inspector allows you to check documents for sensitive data, like personal information or hidden content. Document Inspector helps you find and remove this sort of information before sharing your file with other people.
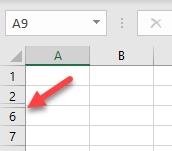
Here’s an example of how Document Inspector. Say you have a spreadsheet with hidden rows (here, Rows 3:5).
To analyze the file, follow these steps:
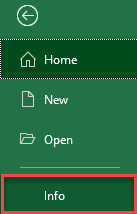
- In the Ribbon, go to File > Info.
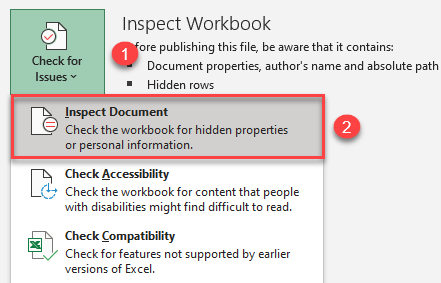
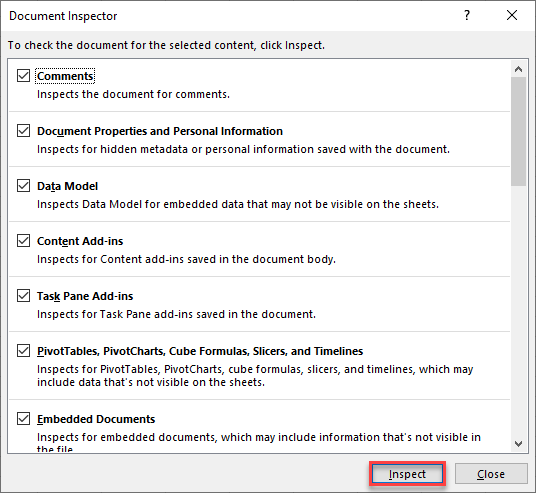
- In the Info window, click Check for Issues, and choose Inspect Document.
- In the Document Inspector window, all analysis categories are checked by default; just press Inspect.
As you can see, there is an issue with Document Properties and Personal Information. If you want to delete them and protect your workbook before sharing, click Remove All.
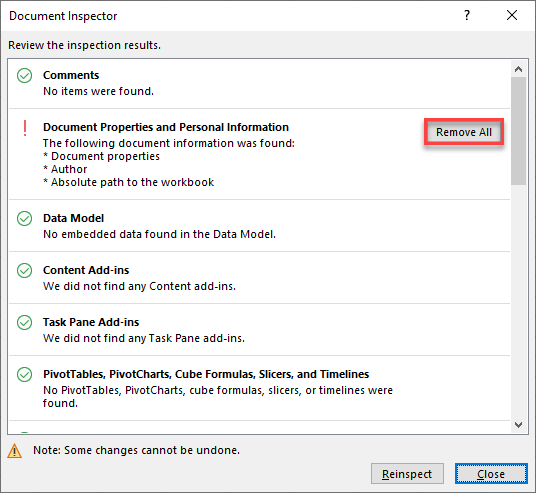
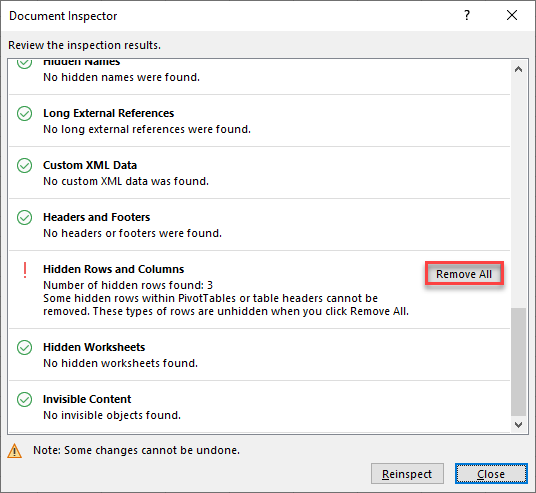
Also, there is a warning for Hidden Rows and Columns (because Rows 3:5 were hidden on this sheet). To resolve, click Remove All.
As a result, your personal information is removed from the file, and all hidden rows are now displayed.
Warning: When resolving issues, Document Inspector usually deletes data to solve problems, and these deletions can’t be undone.
The full list of content included in file inspection is:
- Comments
- Document Properties and Personal Information
- Data Model
- Content Add-ins
- Task Pane Add-ins
- PivotTables, PivotCharts, Cube Formulas, Slicers, and Timelines
- Embedded Documents
- Macros, Forms, and ActiveX Controls
- Link to Other Files
- Real Time Data Functions
- Excel Surveys
- Defined Scenarios
- Active Filters
- Custom Worksheet Properties
- Hidden Names
- Long External References
- Custom XML Data
- Headers and Footers
- Hidden Rows and Columns
- Hidden Worksheets
- Invisible Content
